Snowflake Integration
Snowflake is a powerful cloud data warehouse that companies use to centralize their business metrics. However, Snowflake requires users to know SQL in order to query it, rendering it difficult to use for revenue teams looking for important insights to drive their upsell and expansion strategies. Correlated makes it possible to ingest data from Snowflake and combine it with data from other business applications for use in Signals, Workflows, and account and user analysis within the Correlated product.
You can skip ahead to the section that is most relevant to you based on your setup:
Connecting Snowflake to Correlated
Connecting Tables to Correlated
Setting up a Data Share in Snowflake
Setting things up in Snowflake
Before you start, ensure you're using the ACCOUNTADMIN role in Snowflake, or that you're using a role with permissions to run the following commands.
First, create a new role for Correlated to use, which is read-only. This step is not required, but is encouraged as a best practice.
CREATE ROLE IF NOT EXISTS correlated_read_only_user;
GRANT ROLE correlated_read_only_user TO ROLE SYSADMIN;
Next, give the role you just created (or the one you'll use for the integration) the ability to read data from your databases. You'll need to run the following set of commands for each database you want to use with the Correlated integration:
GRANT USAGE ON DATABASE <database> TO ROLE correlated_read_only_user;
GRANT USAGE ON ALL SCHEMAS IN DATABASE <database> TO ROLE correlated_read_only_user;
GRANT USAGE ON FUTURE SCHEMAS IN DATABASE <database> TO ROLE correlated_read_only_user;
GRANT SELECT ON ALL TABLES IN DATABASE <database> TO ROLE correlated_read_only_user;
GRANT SELECT ON FUTURE TABLES IN DATABASE <database> TO ROLE correlated_read_only_user;
GRANT SELECT ON ALL VIEWS IN DATABASE <database> TO ROLE correlated_read_only_user;
GRANT SELECT ON FUTURE VIEWS IN DATABASE <database> TO ROLE correlated_read_only_user;
Almost done! Next, give the new role (or your existing role) warehouse usage:
GRANT USAGE ON WAREHOUSE <warehouse> TO ROLE correlated_read_only_user;
Last step, create a new user within the role for Correlated:
CREATE USER IF NOT EXISTS correlated_integration_user;
  password='your-strong-password'
  default_namespace='"<database>"'
  default_warehouse='"<warehouse>"'
  default_role=correlated_read_only_user
  must_change_password=false;
GRANT ROLE correlated_read_only_user TO USER correlated_integration_user;
That's it! Now you're ready to set things up from within Correlated;
Connecting Snowflake to Correlated
- Log into the Correlated application
- Click on Integrations in the left navigation
- Go to your Snowflake integration card and click Connect
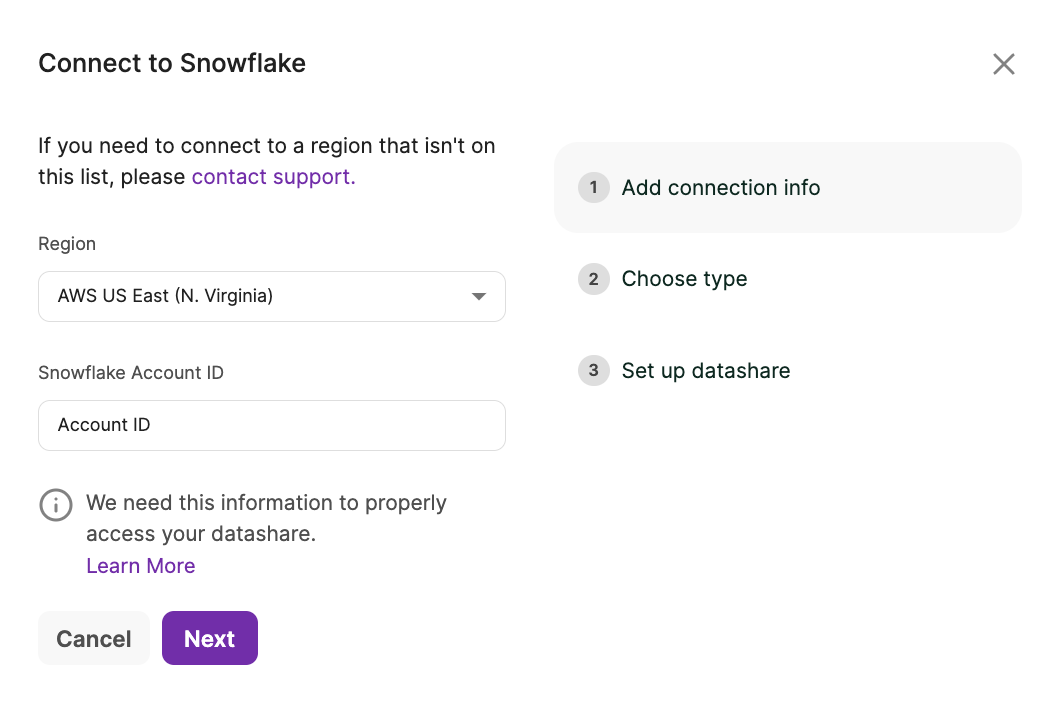
- You'll be prompted to fill out your Region and Snowflake Account ID.
Your account ID is the first part of your Snowflake URL. For example, if your URL is https://abc123.us-east-1.snowflakecomputing.com, then your account ID is abc123.
Click Next to continue
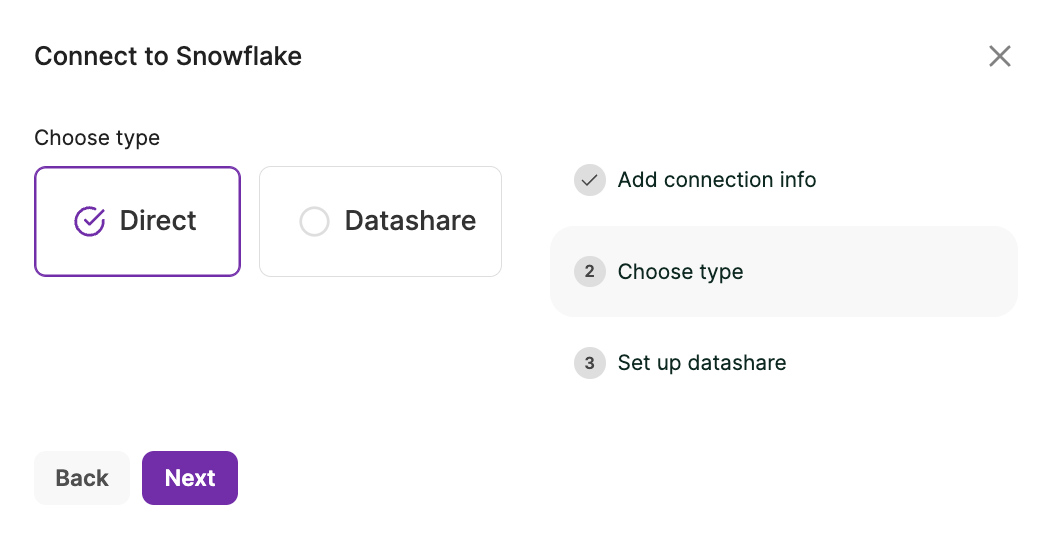
- Choose the type of connection you'd like to use. We recommend connecting Direct rather than using a Datashare if possible.
For more information on how to setup a datashare, see below.
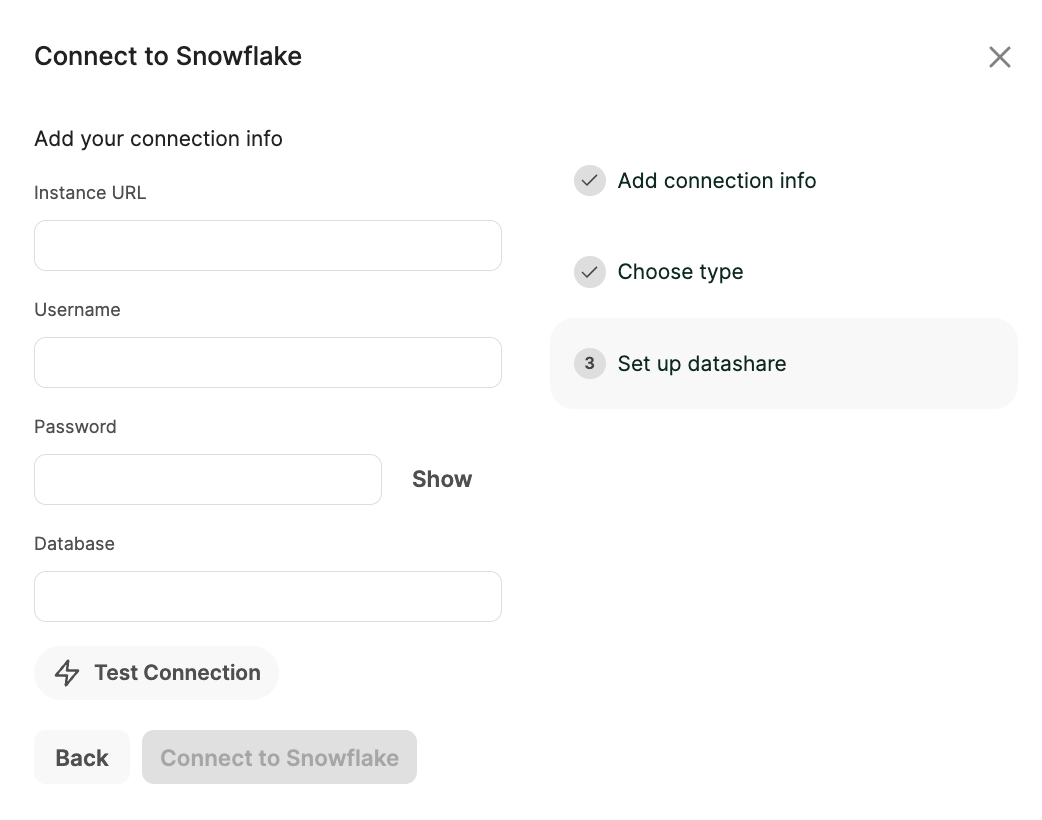
- Finally, input your Instance URL, Snowflake Username, Password, and Database name and click Test Connection. When the test is confirmed, click Connect to Snowflake.
Configuring Your Integration
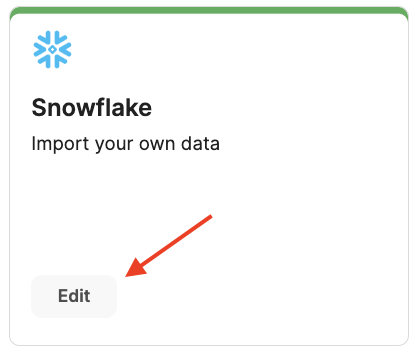
- Once Snowflake is successfully connected, you can click Edit on the Snowflake integration to link your data to Correlated
- You'll see three tabs at the top of the page: Connected Tables, Connection, and Dimensions
- Connected Tables is where you can view tables actively connected to Correlated and add more tables you'd like to connect. This step is required because you need to tell Correlated how to interpret your table schema. Note: you can always come back and add more tables in later on
- Connection will summarize what dataset is connected, the health of the last sync, and the available tables
- Dimensions allows you to view all of the Dimensions that Correlated has access to through this integration

Connecting Tables to Correlated
Now that you can see the available tables from Snowflake, it's time to connect tables to Correlated.
- Navigate to the Connected Tables tab
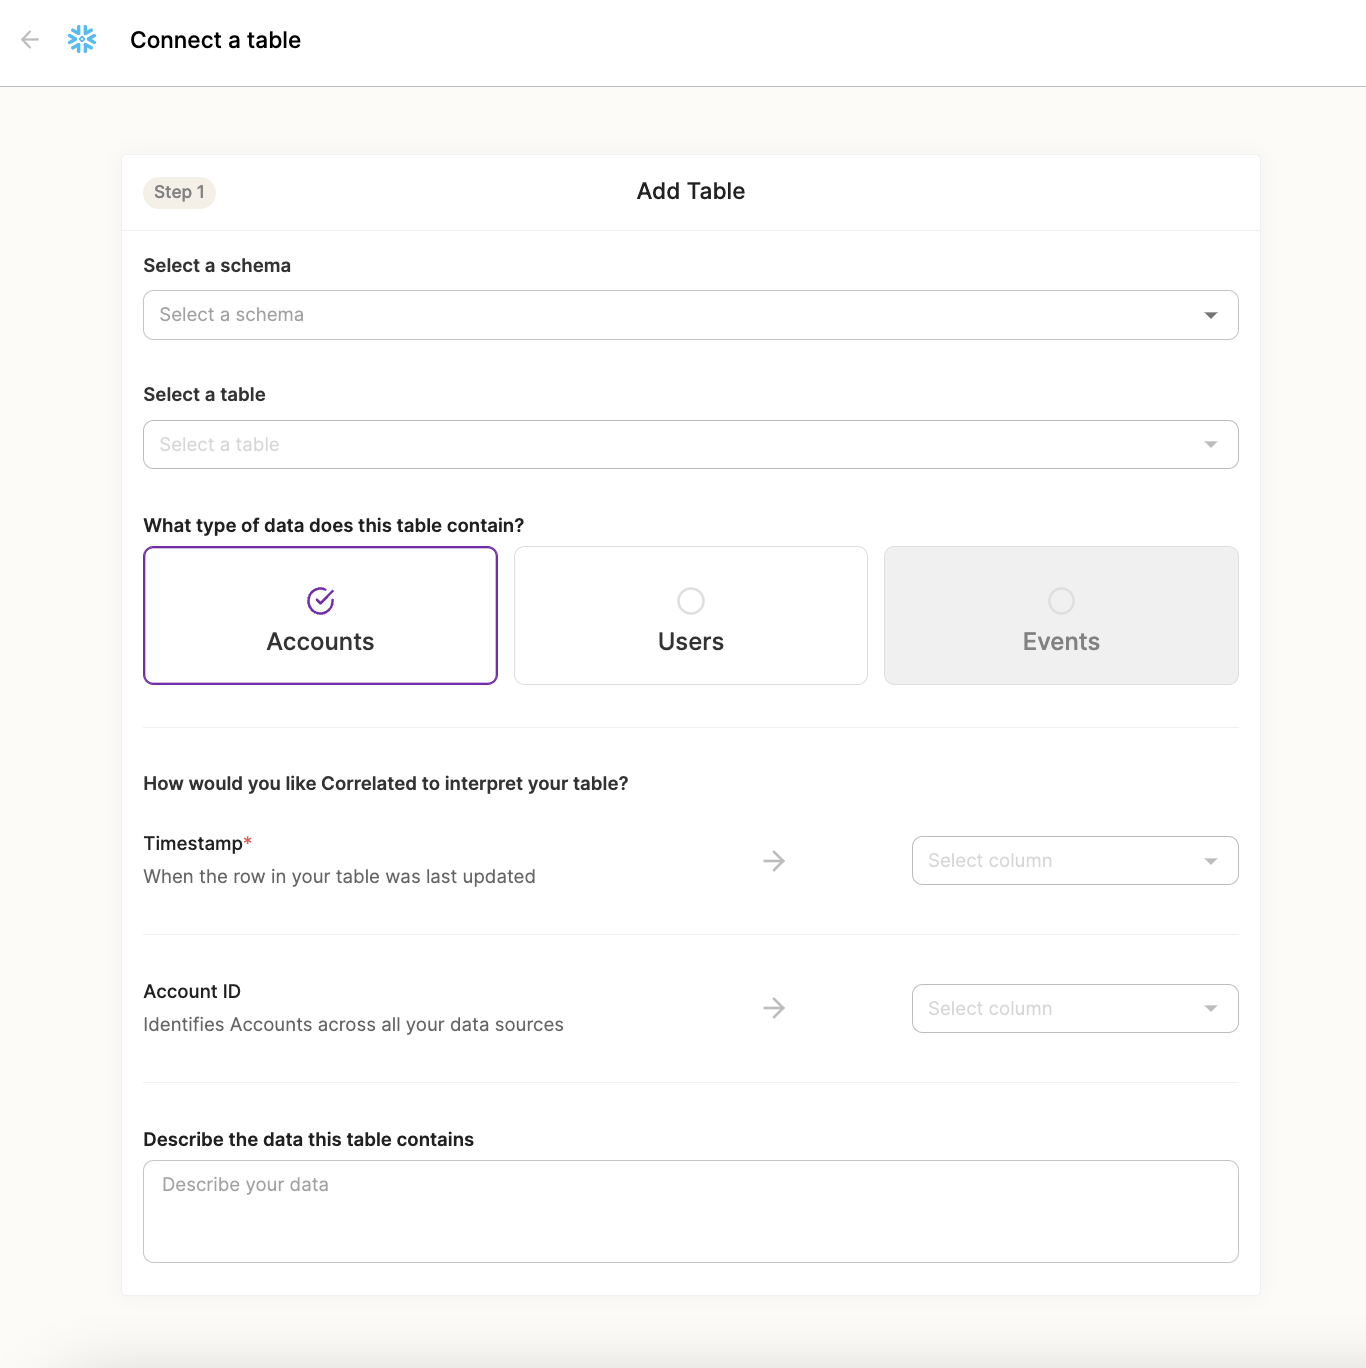
- Click Connect Table

- From here, select the Schema and Table you are trying to connect.
- Then select a table type (Accounts or Users).
- The timestamp column is needed for "versioned" data source. Versioned data sources are updated incrementally, whereas un-versioned data sources are only updated daily. Please note that this column MUST be when that row was written into Snowflake or populated in a view. This cannot be another timestamp from a downstream system.
- Finally, select the User ID that uniquely identifies a user and the Account ID that uniquely identifies an account as required. You must use the same Account ID and User ID as you do in other data sources so that you have one single, global identifier. Failing to do so will result in duplicate Accounts and Users.
- It's also recommended to add a short description of the table that you can refer to later on.
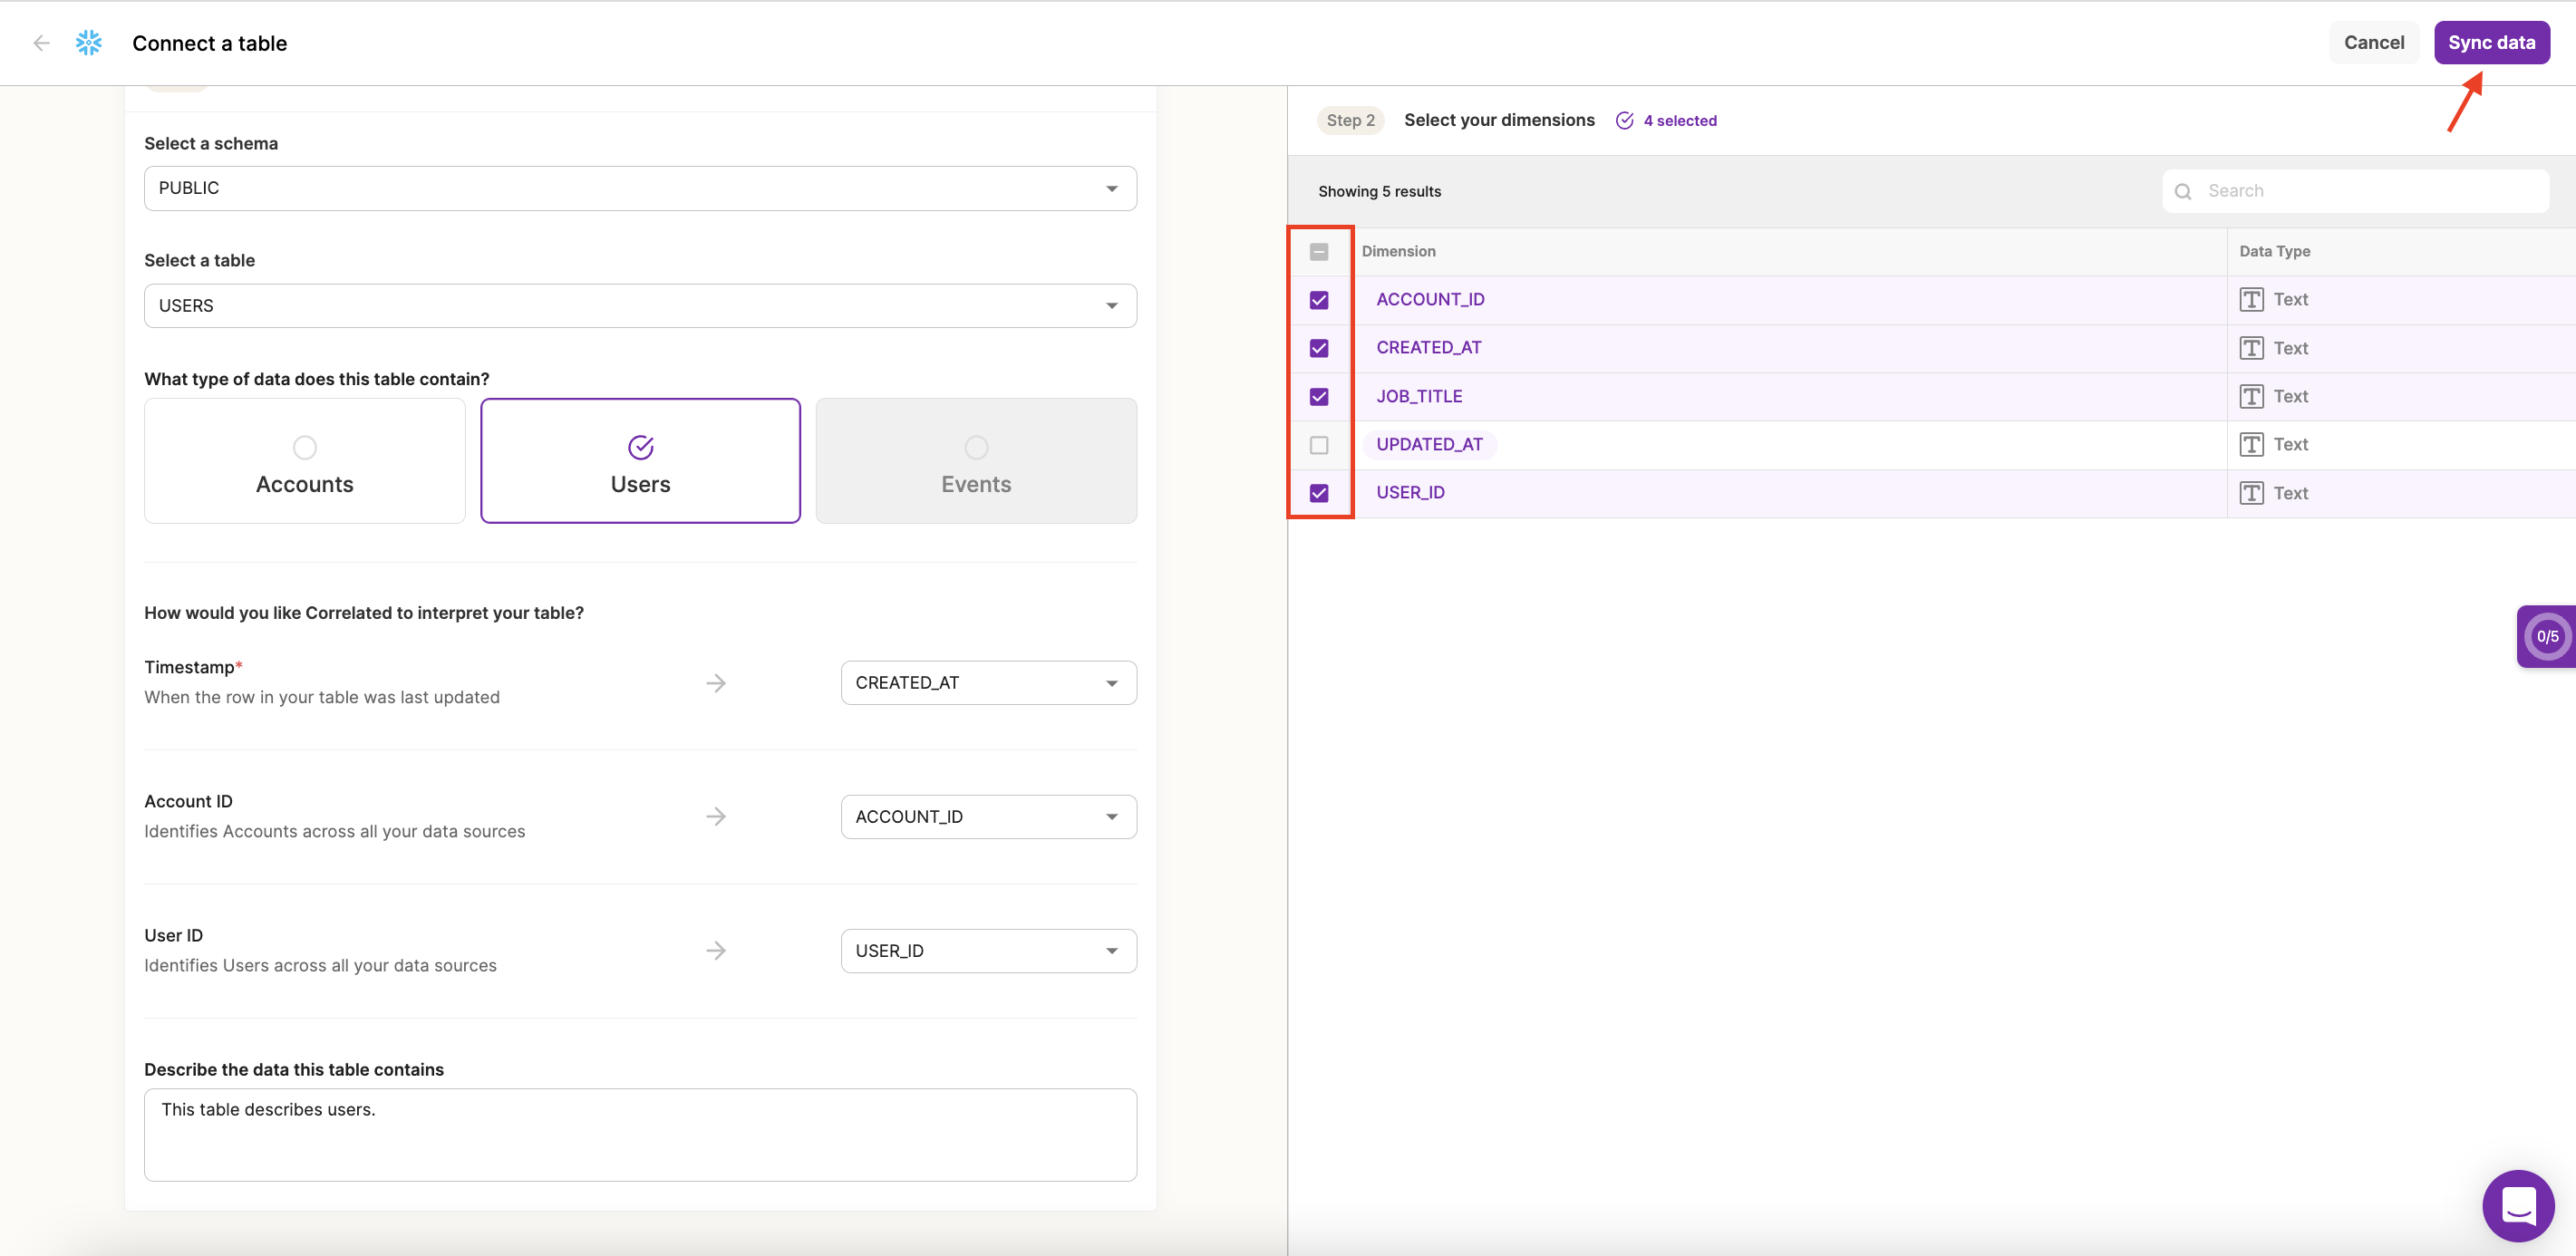
- As you configure each Table, you'll see Dimensions populate (aka columns available) on the right-hand side of the screen. Simply select the Dimensions you'll need to build Playbooks, and click Sync Data to import them.
Once you've added a column as a Dimension, it will no longer be available to add, but you can come back and import more at any time.
Adding New Dimensions from Connected Tables
- If a table has previously been connected but you need to add more Dimensions from it, just find it in the "Connected Tables" tab and click "Edit" on the desired table.

- From here, select the new Dimensions you want to bring over and click "Sync data" when you're done.
(See step 8 from above)
Setting up a Data Share in Snowflake
You must have ACCOUNTADMIN permissions. Our connection to Snowflake requires you to create a shared dataset, which requires ACCOUNTADMIN permissions. If you don't have access to Snowflake in this capacity, check in with your Engineering or Data team. They are typically the ones with access.
Shared Data Sets only offer READ access!
Data shared this way is shared in read-only mode, so no modifications can be made to your data. And, it will only be accessible by Correlated internal systems.
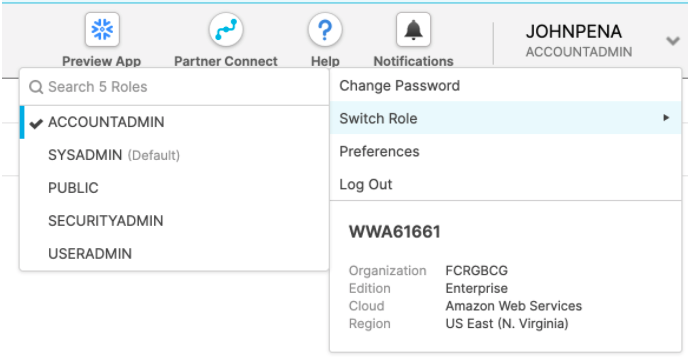
- Login and select the ACCOUNTADMIN role
First, log into your Snowflake account that contains the data you’ll share. You’ll need to be an account admin for your Snowflake instance in order to share datasets with Correlated. Once you’ve logged in, ensure you’ve selected the ACCOUNTADMIN role. You can do this by clicking on your login name in the top right of the console, selecting ‘Switch Role’, and then selecting ACCOUNTADMIN.
- Create a Share
Now in the top left of the screen, click on the “Shares” icon to open up the Secure Shares panel. Again in the top left, click on the “outbound” tab, and then click the “Create” button next to the Inbound/Outbound tabs.

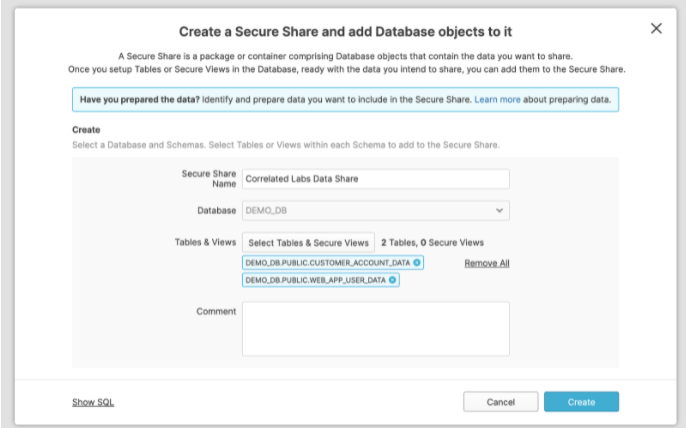
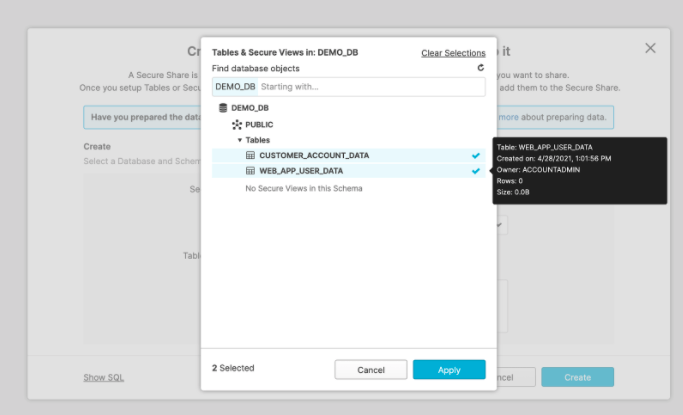
In the modal that opens, enter a name for your shared data, then select the dataset and tables you’d like to share. You can share as many tables as you’d like. Then, click create.
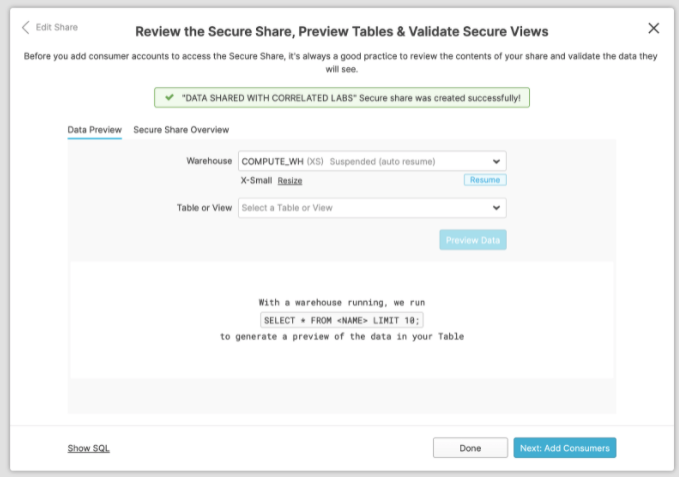
In the next panel, you can preview the data being shared to ensure it’s what you expect. Once you’ve reviewed, click the ‘Next: Add Consumers’ button in the bottom right to add Correlated to the list of consumers for your Share.
- Share your data with Correlated
Once you’ve created your Share, you’ll need to add the Correlated Snowflake Warehouse for your AWS or GCP region as a Consumer to your Share.
In this panel, select the “Full” account type, and then enter Correlated's Snowflake Account ID in the account name field. The account ID you enter here must correspond with the AWS or GCP region you’re in - see the table below to find the right account ID for your region.
| Region | Account ID |
|---|---|
| US East (N. Virginia) | MEA96016 |
| US East (Ohio) | KP13913 |
| US West (Oregon) | VJA48926 |
| GCP US-Central-1 | Coming Soon |
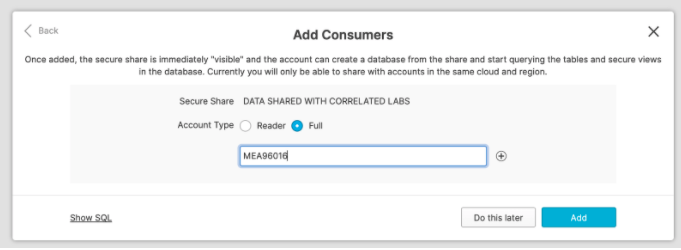
Once you’ve entered the account id, click the Add button. On the next screen, you’ll see a message indicating whether the Share was created successfully. At this point, you can click Done and follow the steps below under "Getting Started" to pipe data into Correlated.

You can review the Share, modify it, or delete it later if you’re no longer using it by revisiting the Shares tab.

Updated about 3 years ago
