Salesloft Cadences
Once you've created a Playbook, you can add an Action that automatically adds Users to Salesloft Cadences based on what they are doing in your product. Adding an Action is easy - since you've already determined the criteria a user must meet to be a member of this Playbook, now you just need to tell it what to do!
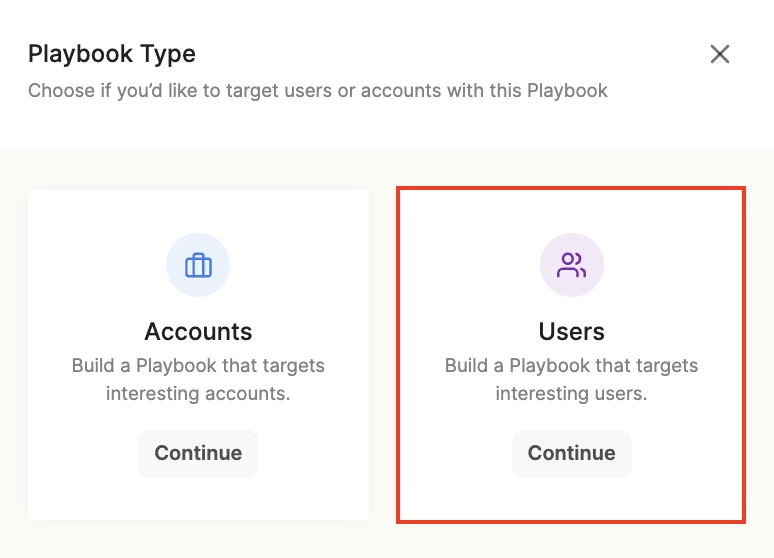
Note: You can only add users to Salesloft cadences, so you must ensure "Users" is selected to enter the Playbook you're working in.
Adding Users to Salesloft Cadences
Once you've selected the Playbook Type (in this case, it has to be Users) and Defined the Trigger Conditions, you can set up the action to add any Users who match the conditions of your Playbook to a Salesloft Cadence.
- In step 3 (Add Actions) in your Playbook, click the "Or choose from another 3 actions" button, then choose "Add to Cadence in Salesloft"
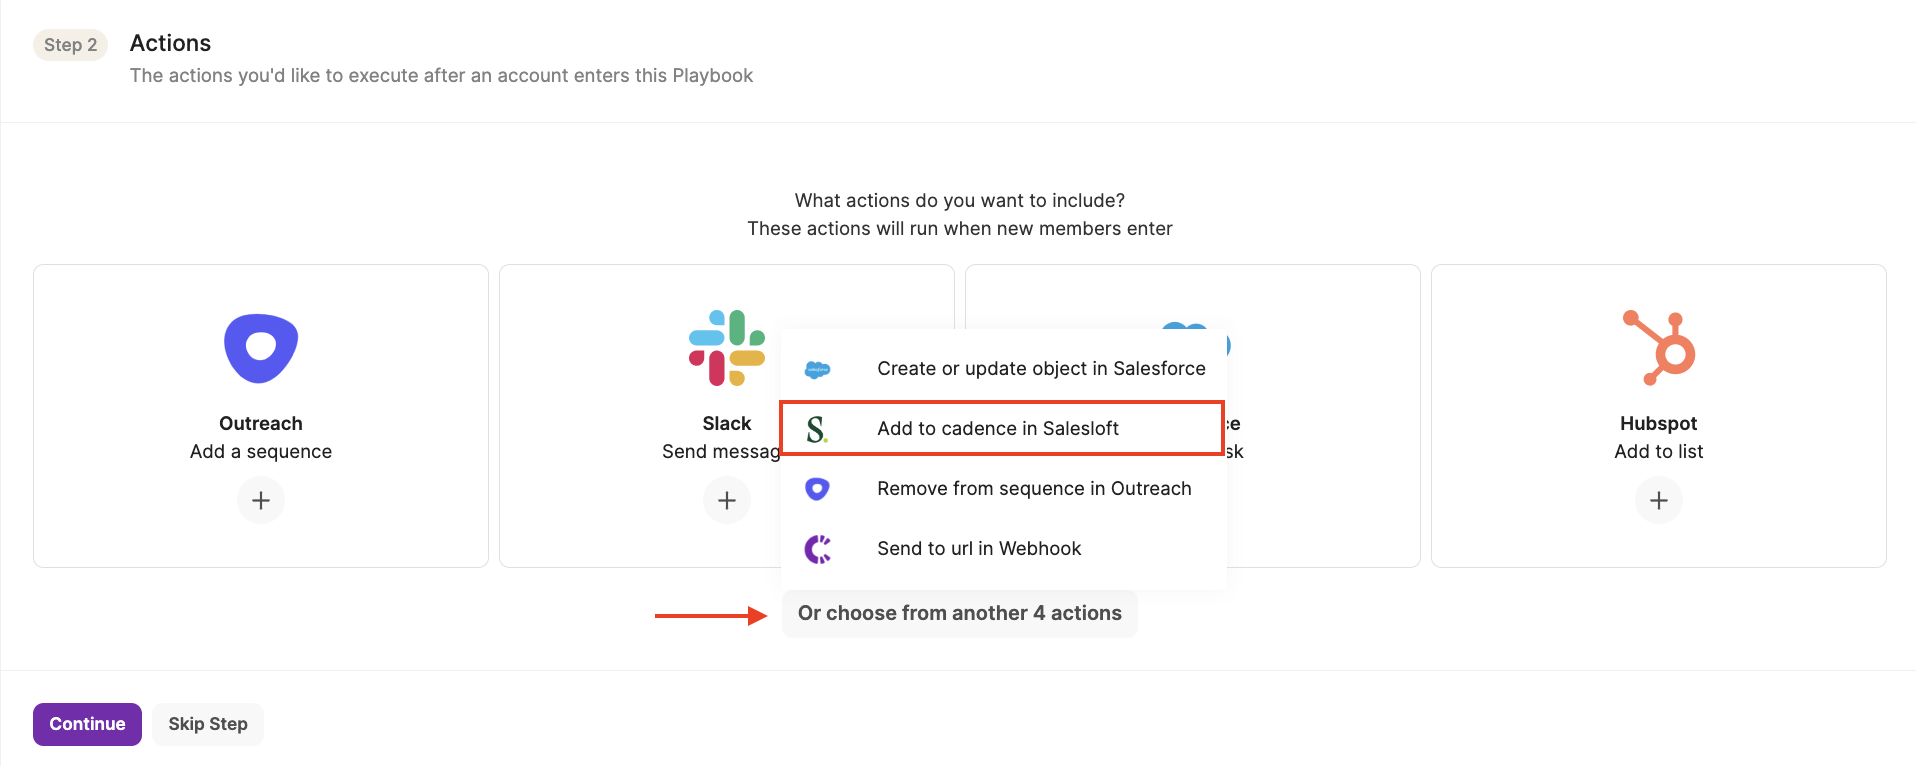
- With the dropdown arrow, select the Cadence you want Users to be added to upon entering the Playbook.

Assigning Mailboxes
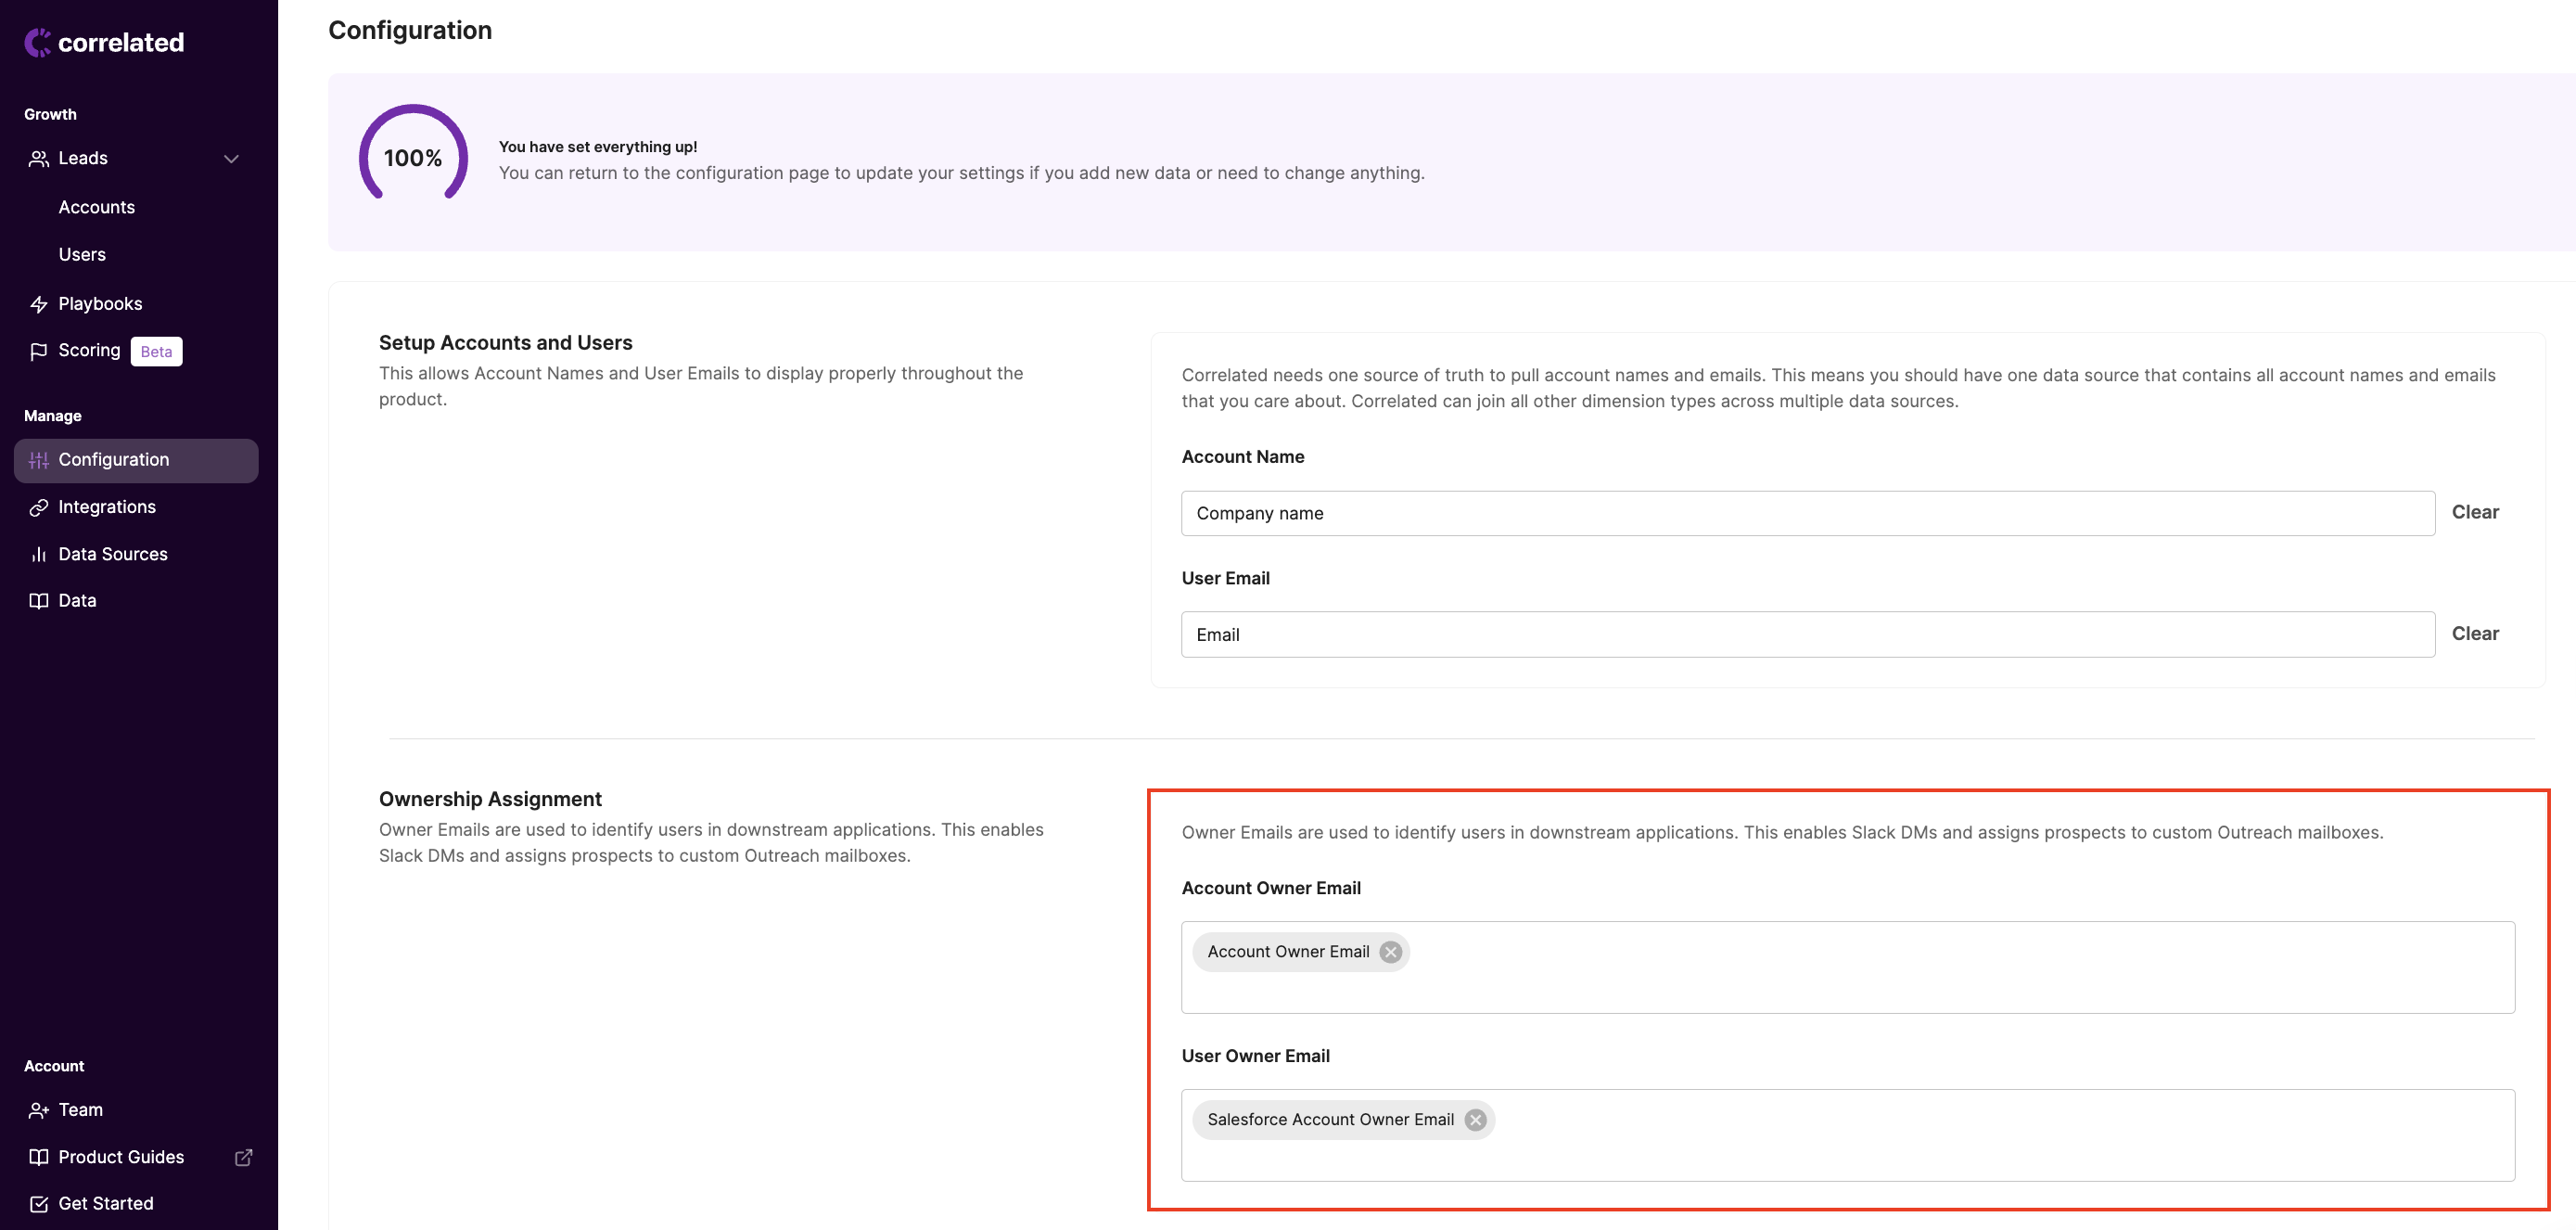
- Keep in mind, you can choose a desired email sender from a list of multiple mailbox owners (See "Assign to this Mailbox" when creating the action).

- For example, you can have the email sent from the Prospect Owner mailbox as default, or choose another mailbox like the Customer Success Manager or Account Owner, depending on how you have dimensions set up under Ownership Assignment in the Configuration tab (found in the left-hand menu).
Creating People
- As default, Correlated will automatically create new people in Salesloft for you if one does not already exist for the User (at the time they trigger your Playbook). Here's how it works:
- We will search for the person in Salesloft by the User email
- If the person is not found, we will create a new one using the User email address, but will not assign an owner
- The person will be added to the sequence, coming from the owner's mailbox as assigned in Salesloft
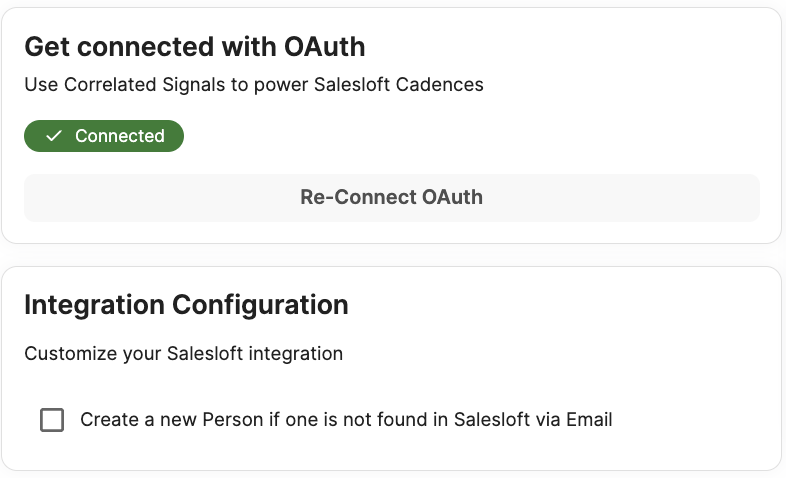
- If you do NOT want Correlated to automatically create people in Salesloft, click "Edit" on the Salesloft integration card and deselect "Create a new Person if a User is not found in Salesloft via Email"
Refining Which Cadences Are Available
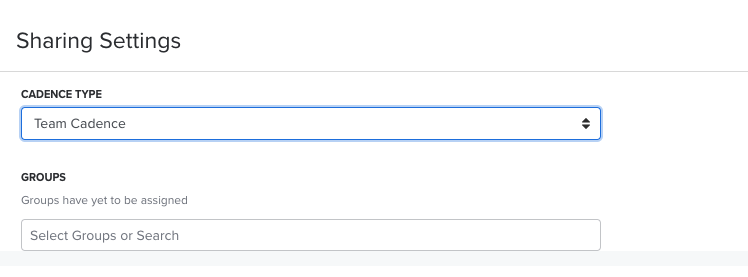
By default, we only allow you to add Users to "Shared" Cadences. This is because when we don't want to expose private Cadences that are owned by the Salesloft user who set up the integration. If you aren't seeing the Cadence you want to add Users to, you should make sure the Cadence is shared. In order to do this, log into Salesloft and update the Sharing Settings for your Cadence.
Salesloft Personalization
Map "custom fields" between Correlated and Salesloft to easily populate your Cadence emails with personalized information for your customers!
-
Click open the Integrations page in Correlated.
-
Find the Salesloft card and click Edit.
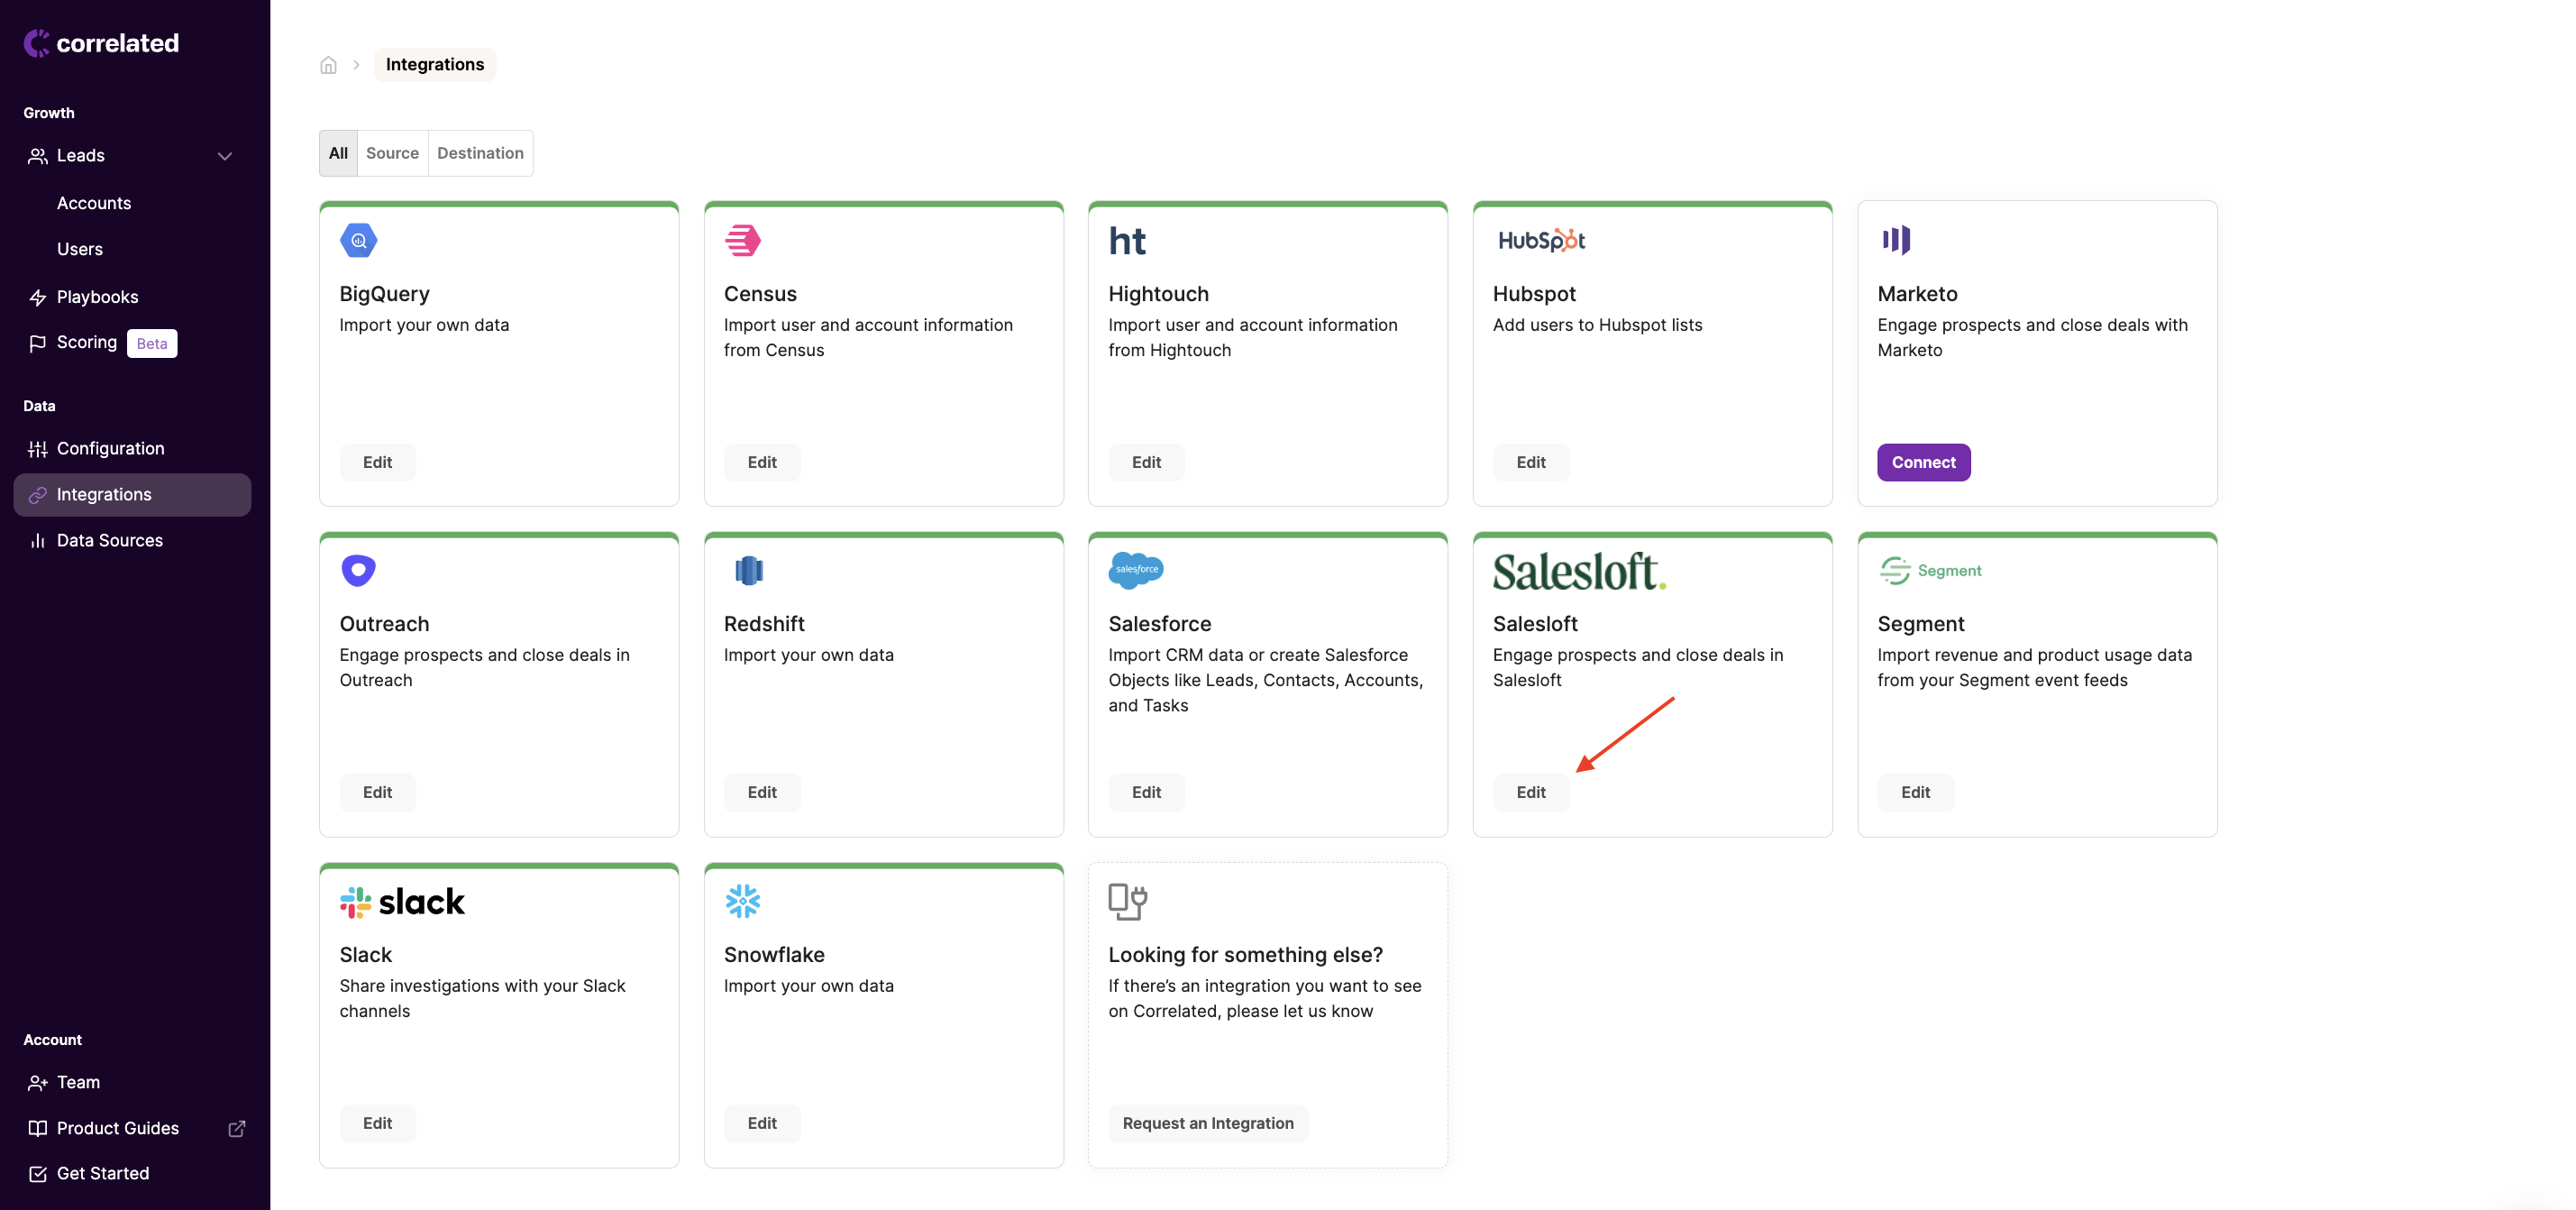
- Configure your User Custom Field Syncing.
- Click "Add a Field Mapping"
- First, select a Dimension (or data point) you want Correlated to populate the Custom Field with
- Then, choose the Custom Field coming from Outreach
- When you're done mapping fields, click Save

Custom Fields should have a name in Salesloft
In order for Correlated to properly identify your custom fields from Salesloft, they must be given a name. This will ensure that data points living in Correlated get mapped to the correct, matching field in Salesloft.
- Once your custom field mapping is ready, you can follow the steps from the beginning of this article to use our "Add to Cadence in Salesloft" action.
- This time, make sure you are checking the box to "Sync custom variables prior to adding Person to Cadence" in order to properly use your new custom field mapping!
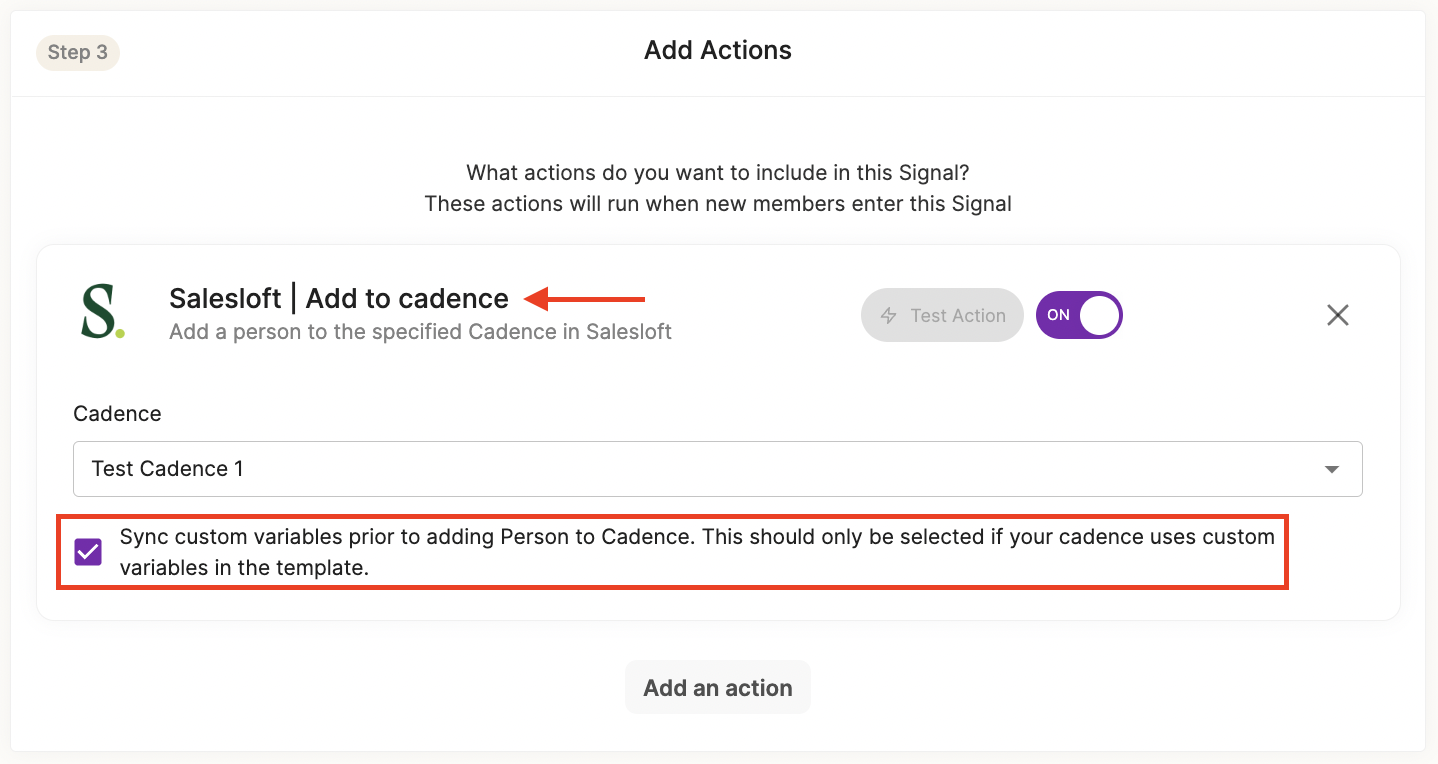
Any time a new User triggers your Playbook in Correlated, they will be automatically added to your Cadence in Salesloft, and Correlated will populate any custom fields that are used in the first email of the Cadence for a more personalized message.
Updated about 3 years ago
