BigQuery Integration
Getting Started
- Correlated requires your Google Cloud Project ID to connect to your data in BigQuery - You can find your Google Cloud project ID on the Google Cloud Console in the Project Info section. If you have multiple Google Cloud projects, you'll need to first select the correct one with the project picker in the top left.
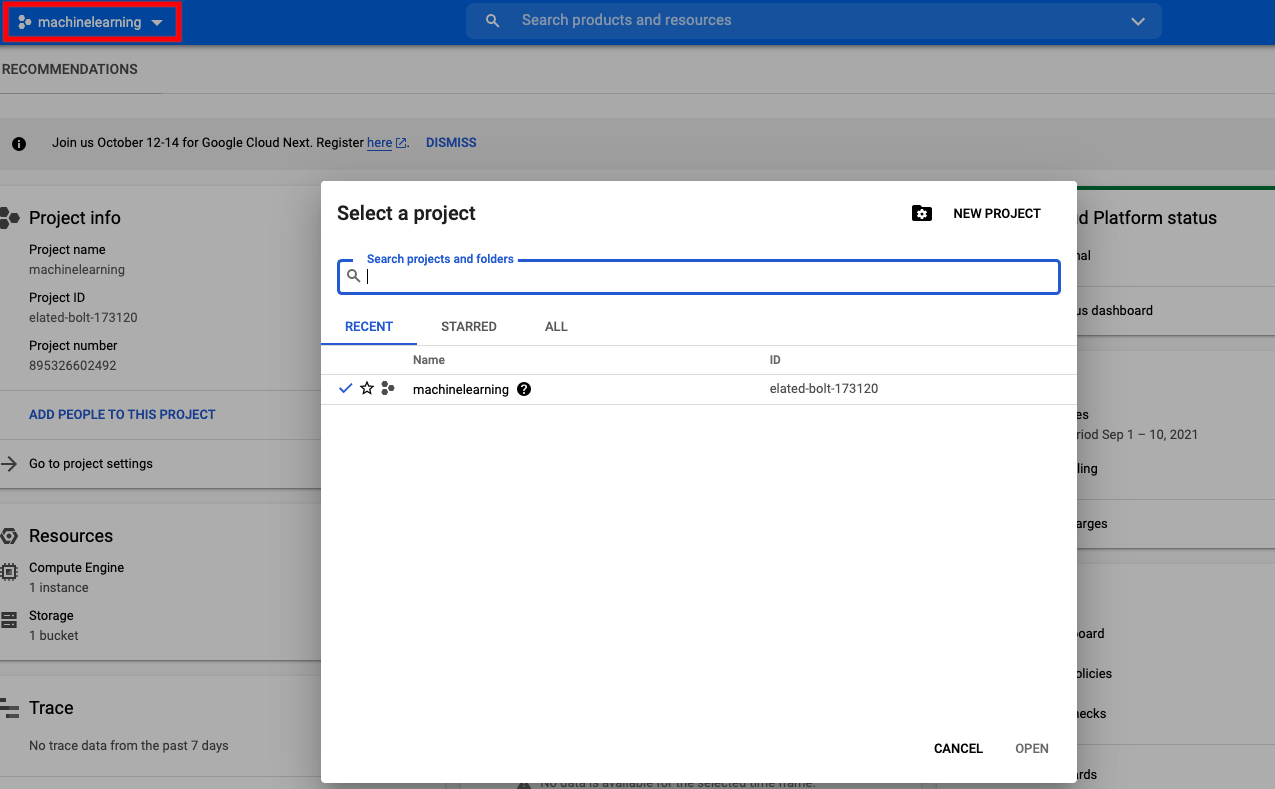
Google Cloud Picker to select the right project
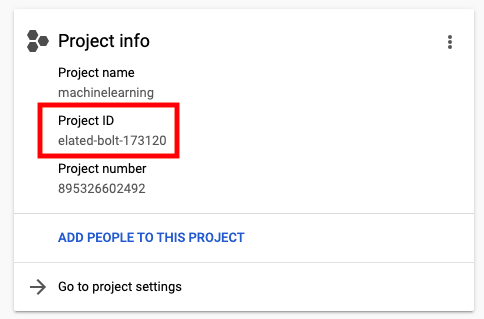
Google Cloud Console Project ID location
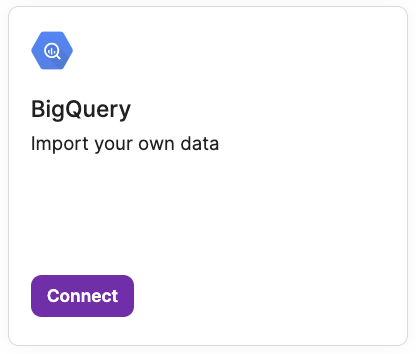
- Go to the Integrations page in Correlated and click the purple Connect button on the BigQuery card.
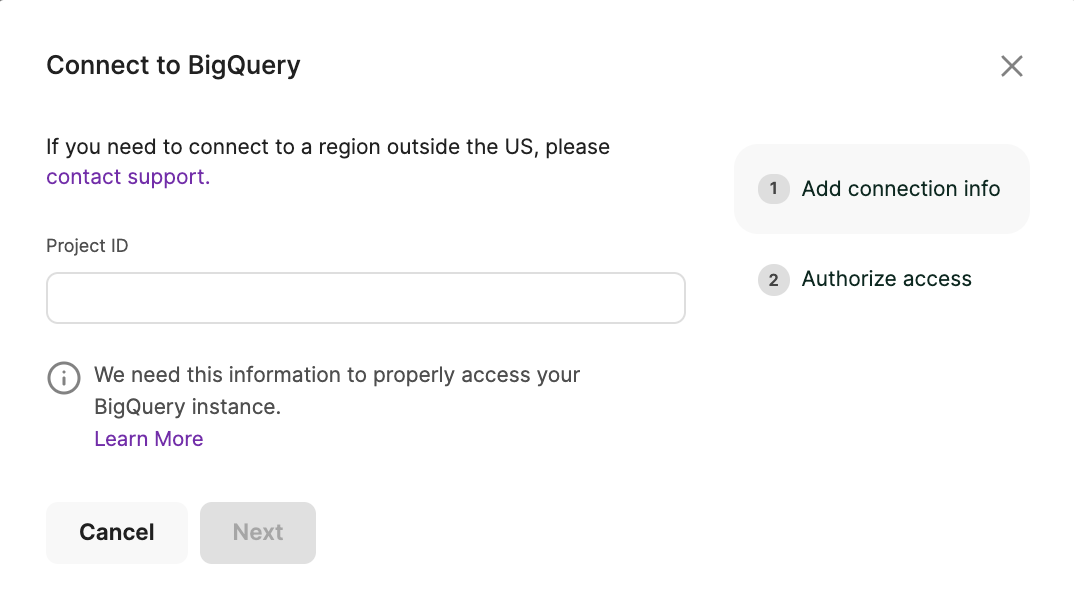
- Then, input your Google Cloud Project ID and click Next to authorize access.
- In order to authorize access, you will need to run the commands provided in this step. We request the following permissions:
User Roles: bigquery.user, bigquery.jobUser
Data View Roles: bigquery.dataViewer
Configuring Your Integration
- Once you've authorized access, you can confirm the connection be ensuring the BigQuery integration card is green. Next, click Edit to configure the integration.
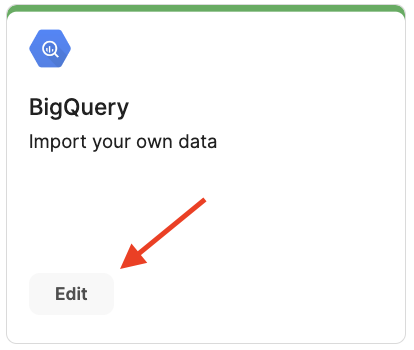
- You'll see three tabs at the top of the page: Connected Tables, Connection, and Dimensions
- Connected Tables is where you can view tables actively connected to Correlated and add more tables you'd like to connect. This step is required because you need to tell Correlated how to interpret your table schema. Note: you can always come back and add more tables in later on
- Connection will summarize what dataset is connected, the last date/time it was updated, and the available tables
- Dimensions allows you to view all of the Dimensions that Correlated has access to through this integration
Navigate to the Connected Tables tab and click Connect Table to bring over the tables you want to see in Correlated.

Connecting Tables in Correlated
- Navigate to the Connected Tables tab
- Click Connect Table

- From here, select the Schema and Table you are trying to connect.
- Then select a table type (Accounts or Users).
- The timestamp column is needed for "versioned" data source. Versioned data sources are updated incrementally, whereas un-versioned data sources are only updated daily. Please note that this column MUST be when that row was written into Snowflake or populated in a view. This cannot be another timestamp from a downstream system.
- Finally, select the User ID that uniquely identifies a user and the Account ID that uniquely identifies an account as required. You must use the same Account ID and User ID as you do in other data sources so that you have one single, global identifier. Failing to do so will result in duplicate Accounts and Users.
- It's also recommended to add a short description of the table that you can refer to later on.
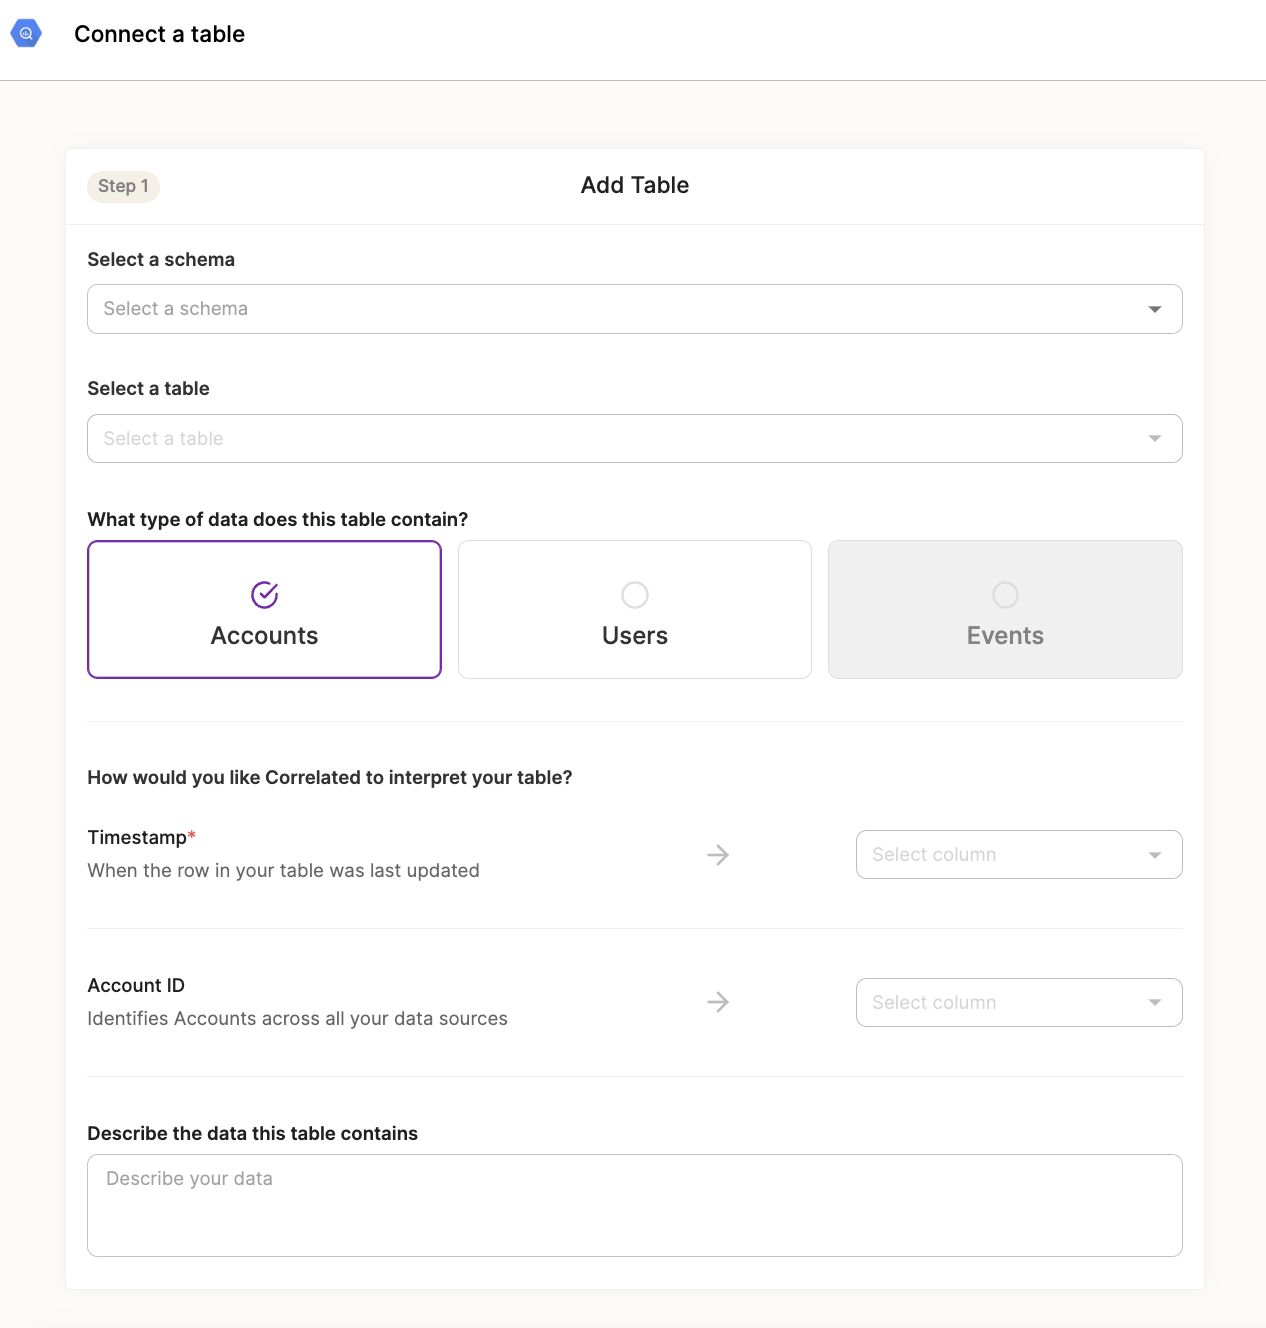
- As you configure each Table, you'll see Dimensions populate (aka columns available) on the right-hand side of the screen. Simply select the Dimensions you'll need to build Playbooks, and click Sync Data to import them.
Once you've added a column as a Dimension, it will no longer be available to add, but you can come back and import more at any time.
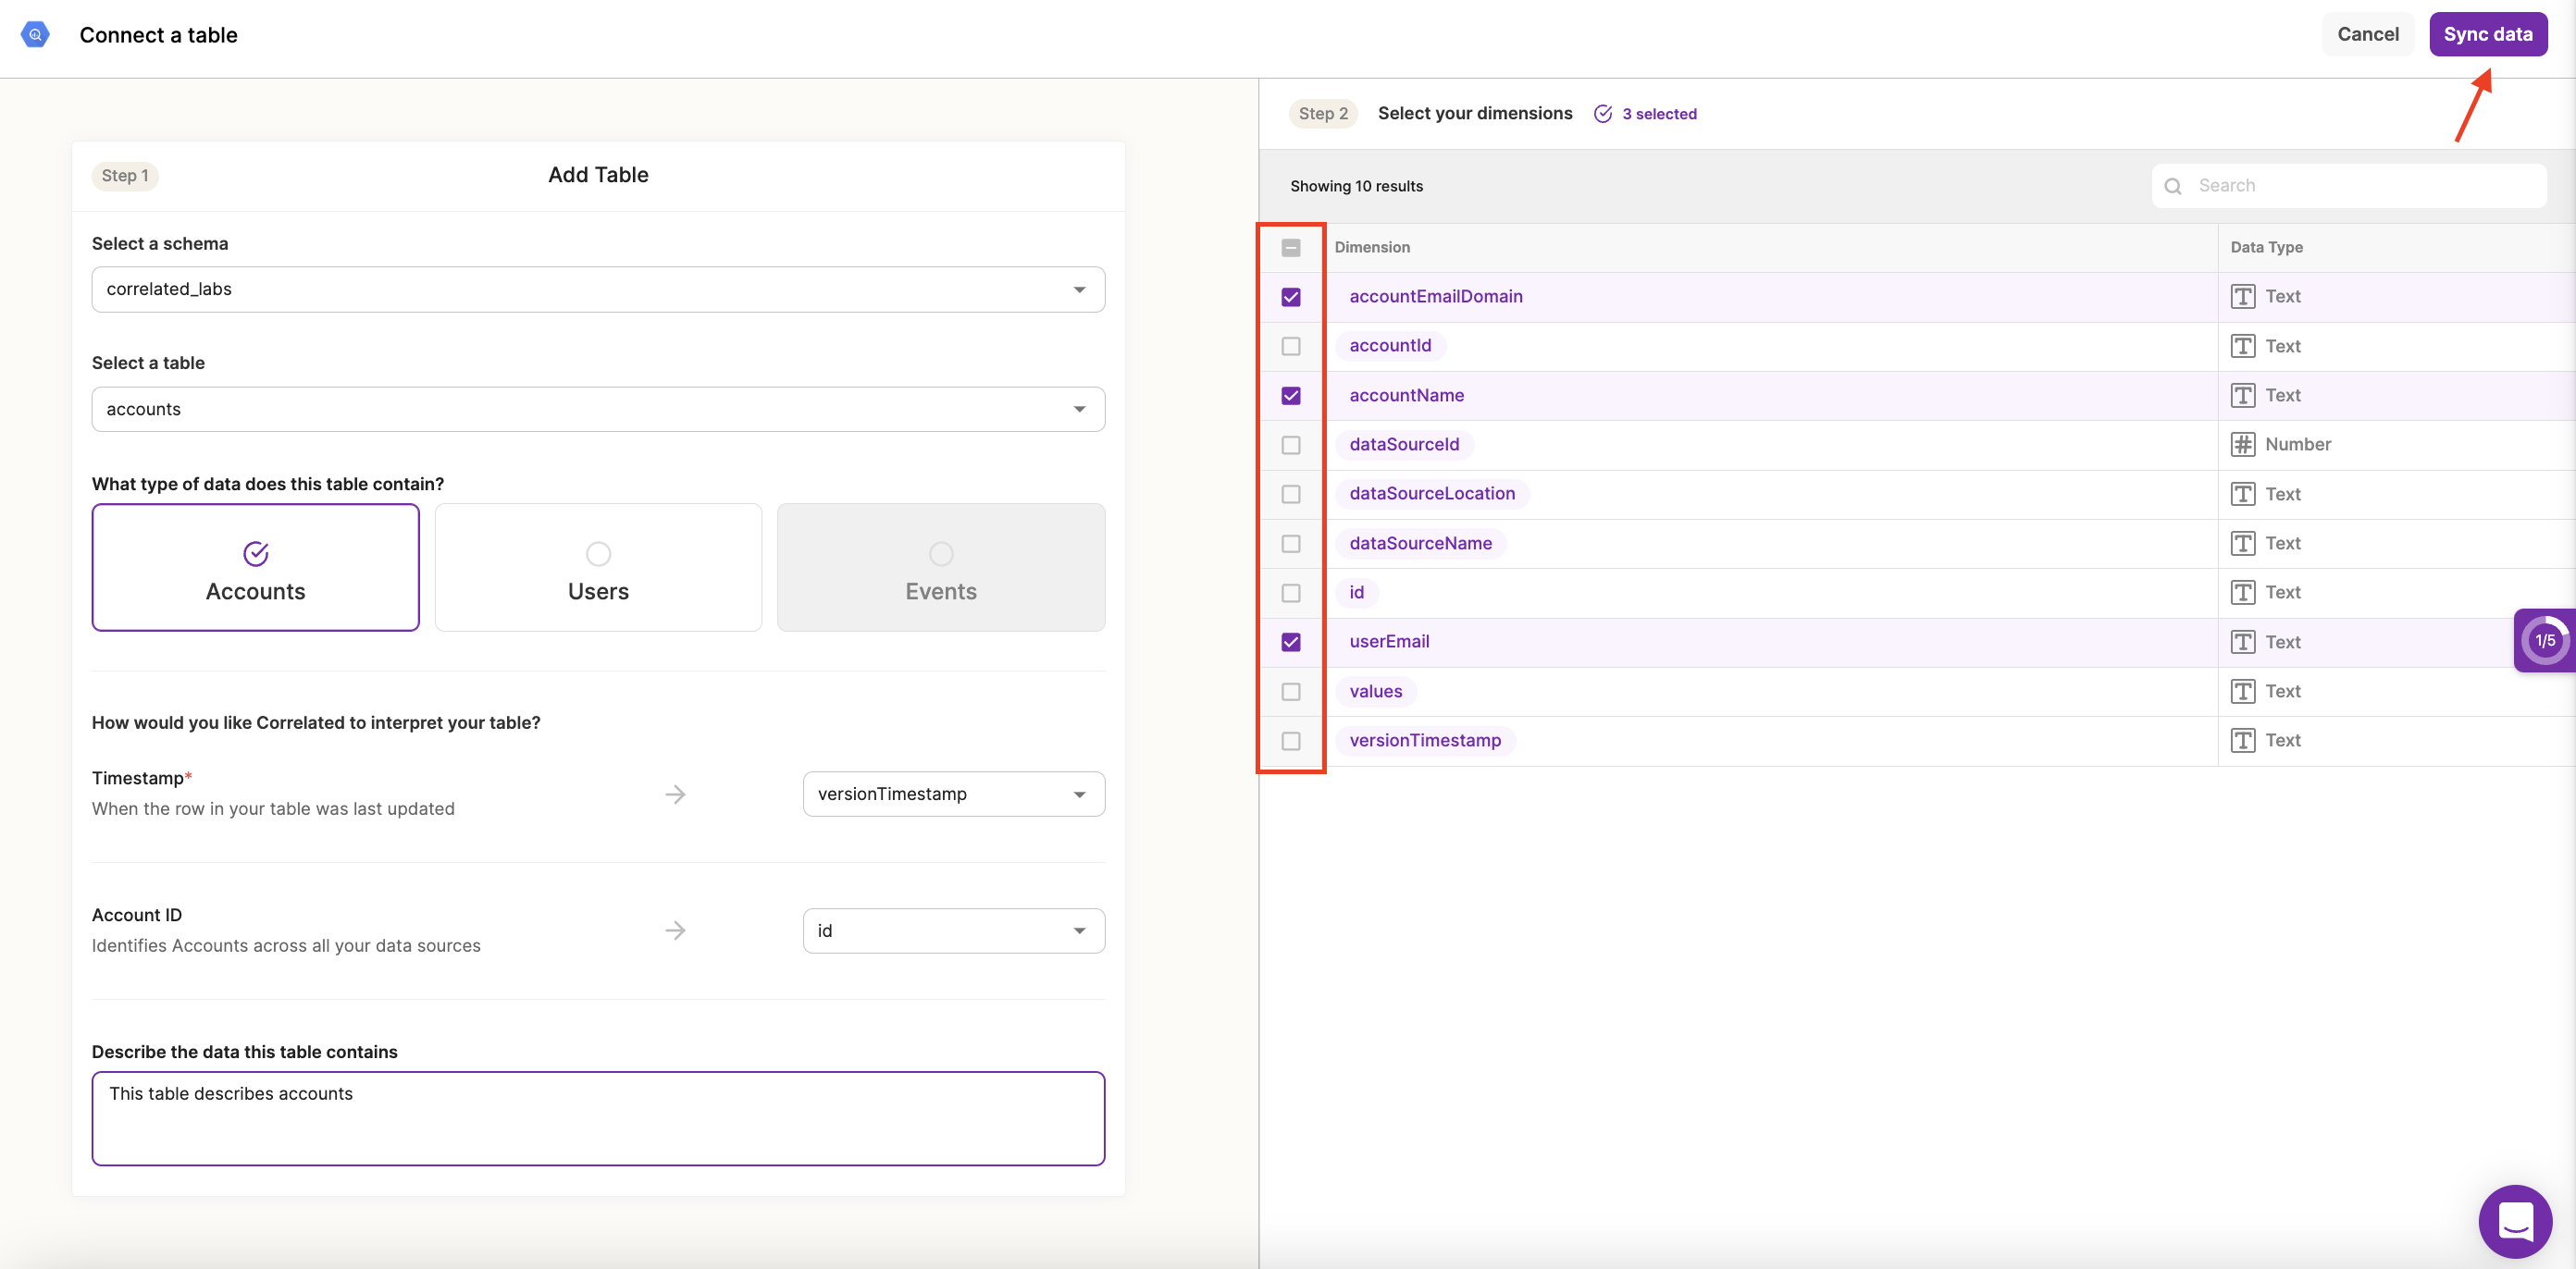
Adding New Dimensions
- If a table has previously been connected, but you need to add more Dimensions from it, just find it in the "Connected Tables" tab and click "Edit" on the desired table.
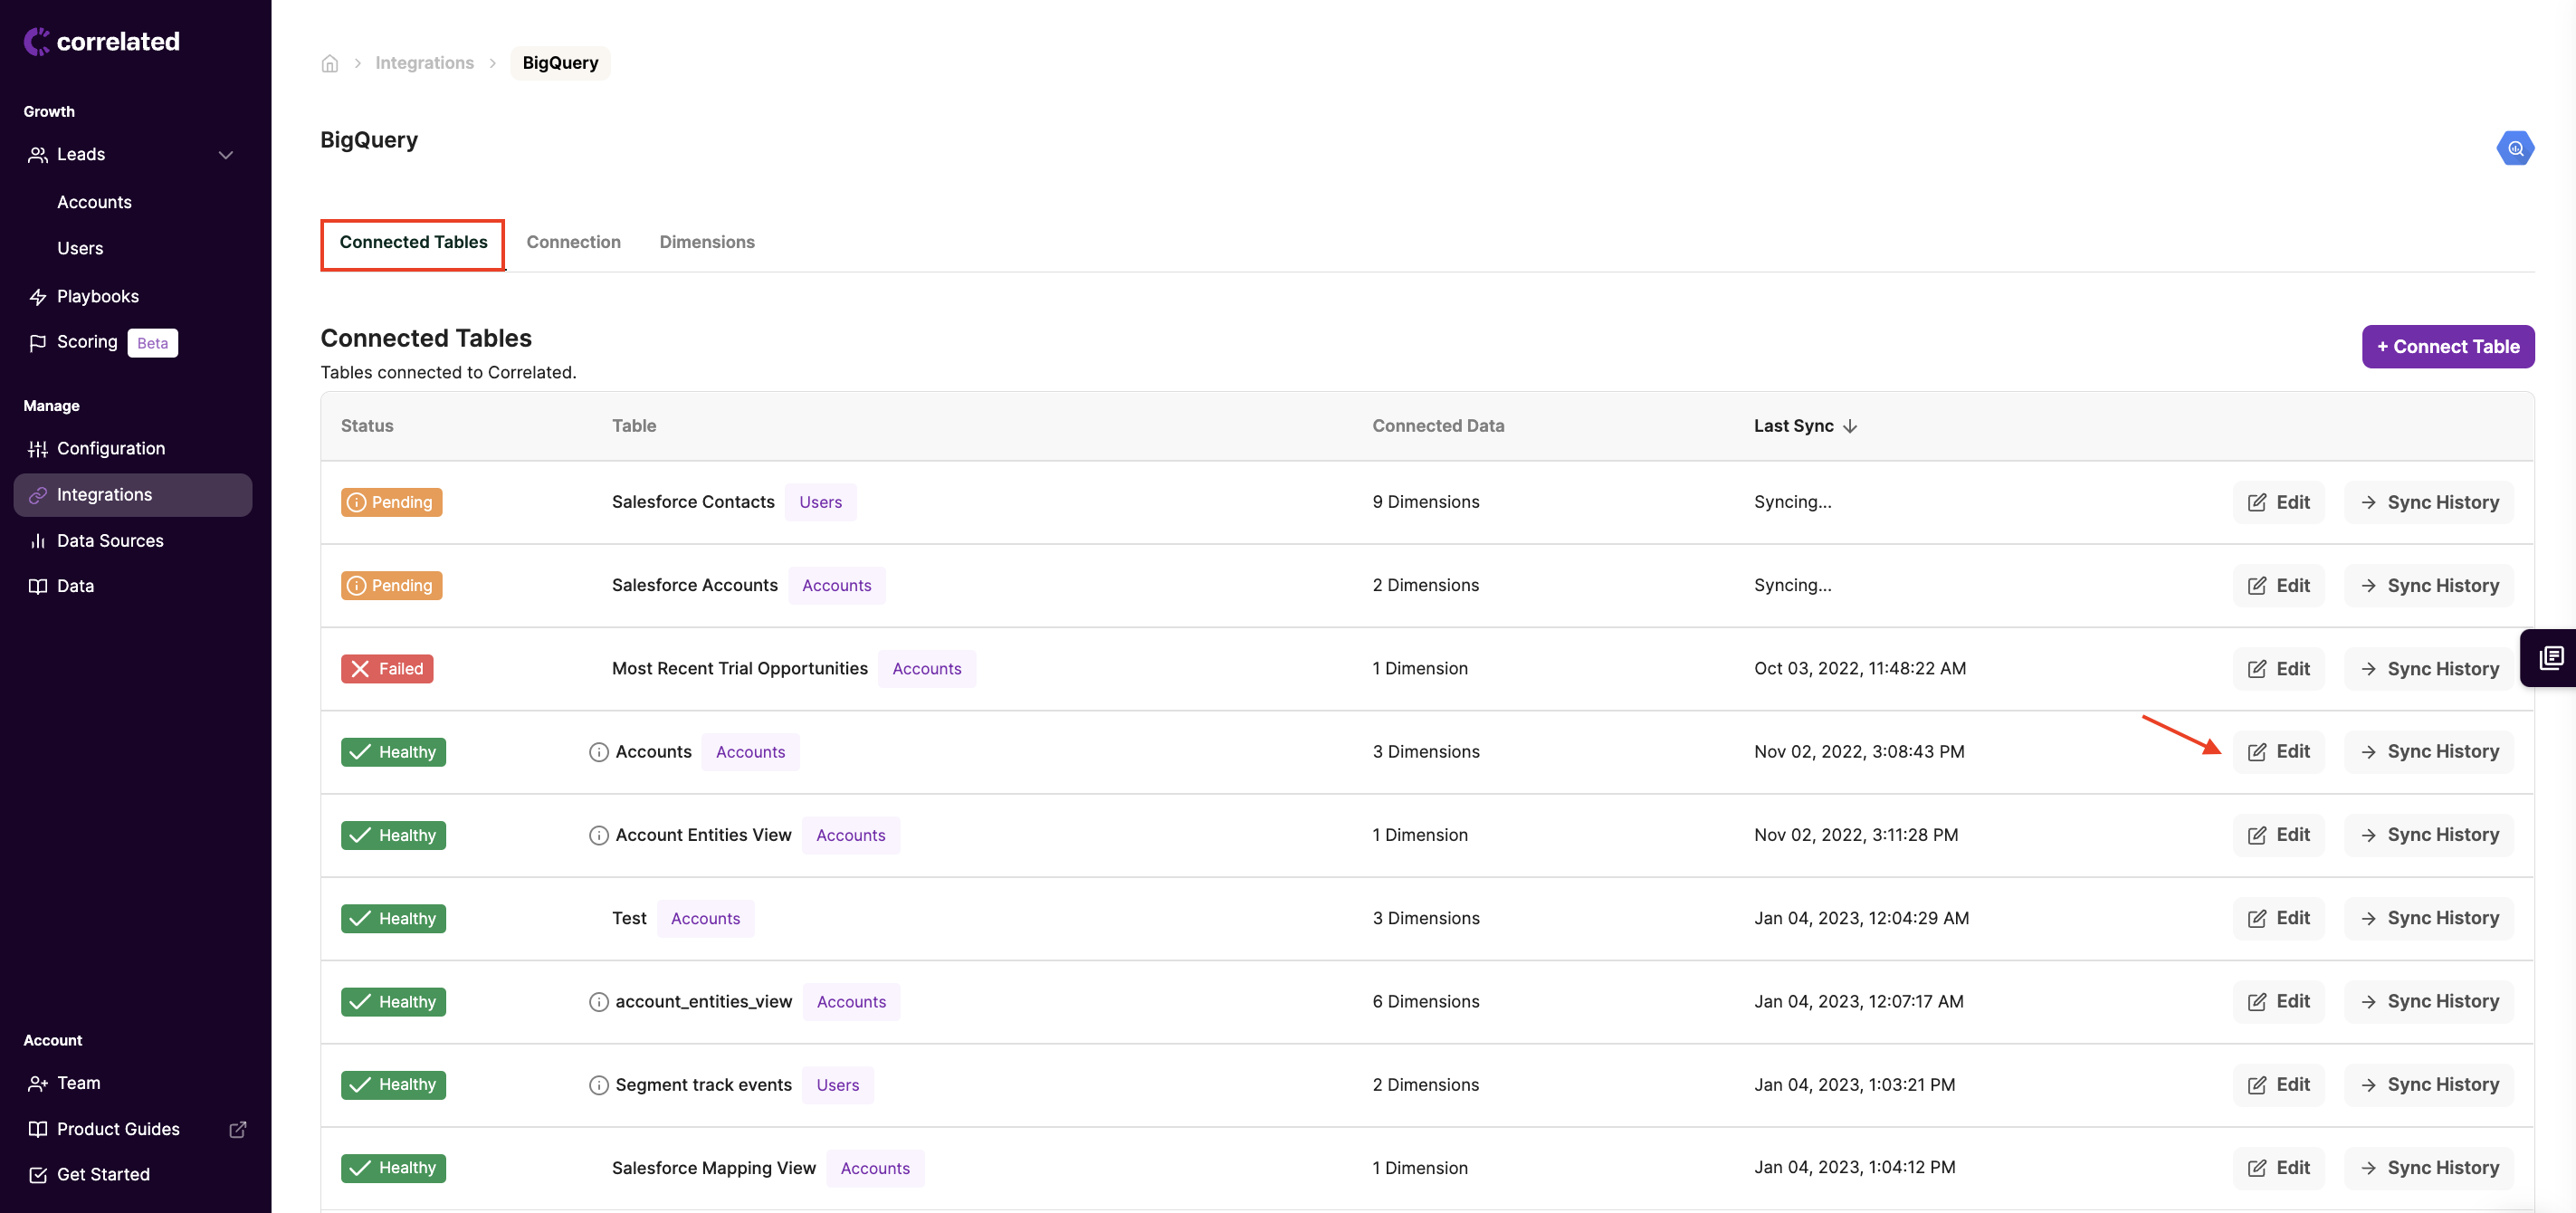
- From here, select the new Dimensions you want to bring over and click "Sync data" when you're done.
(See step 8 from above)
Updated about 3 years ago
