Redshift Integration
Connecting Redshift to Correlated
Correlated reads data from Redshift to populate Accounts and Users in the product. Depending on how your tables are structured, there will be a significant difference in database performance, load, and ultimately cost. Please consult with your Correlated team member if you have questions on how to set up your data.
You can skip ahead to the section that is most relevant to you based on your setup:
Connecting Redshift to Correlated
Configuring Your Integration
Setting up a Redshift Datashare
Setting things up in Redshift
Before you get started, you will likely need to modify your network's firewall allowlist in order to connect Redshift to Correlated. Please allow access from Correlated's single, static IP address:
- 34.122.97.66
First, create a new user for Correlated to use. This step is not required, but is encouraged as a best practice.
CREATE USER correlated_integration_user WITH PASSWORD `<some-strong-password>`;
Next, give the user you just created (or the one you will be using for the Correlated integration) access to your Redshift schema, and the tables within the schema. You'll need to repeat this step for each schema you share with Correlated:
GRANT USAGE ON SCHEMA <schema> TO correlated_integration_user;
GRANT select ON ALL TABLES IN SCHEMA <schema> TO correlated_integration_user;
You can alternatively pick individual tables within the schema you grant access to. You will need to run this command for each table in the schema you'll share with Correlated:
GRANT select ON TABLE <schema>.<table> TO correlated_integration_user;
Connecting Redshift to Correlated
- Navigate to the Integrations page in the left navigation.
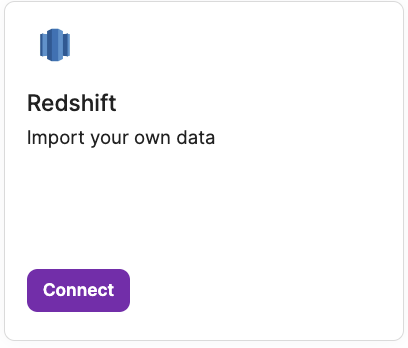
- Find the Redshift integration card and click the purple "Connect" button.
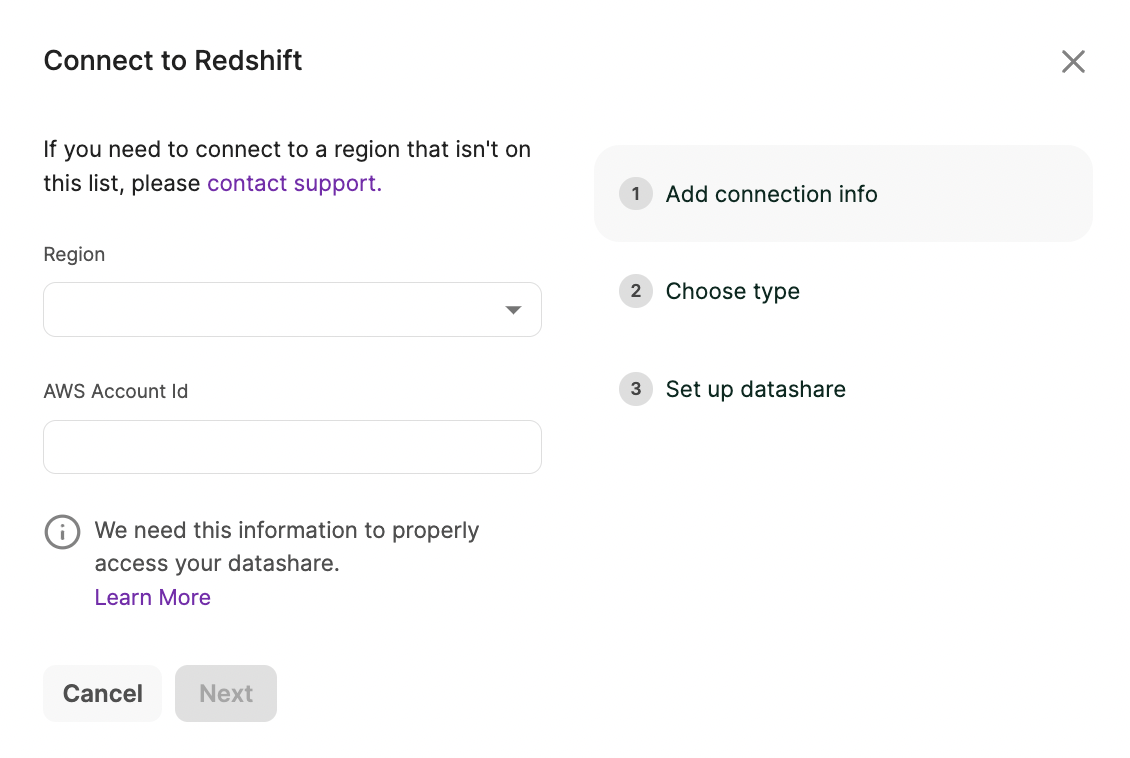
- You'll be prompted to select your Region and input your AWS Account Id.
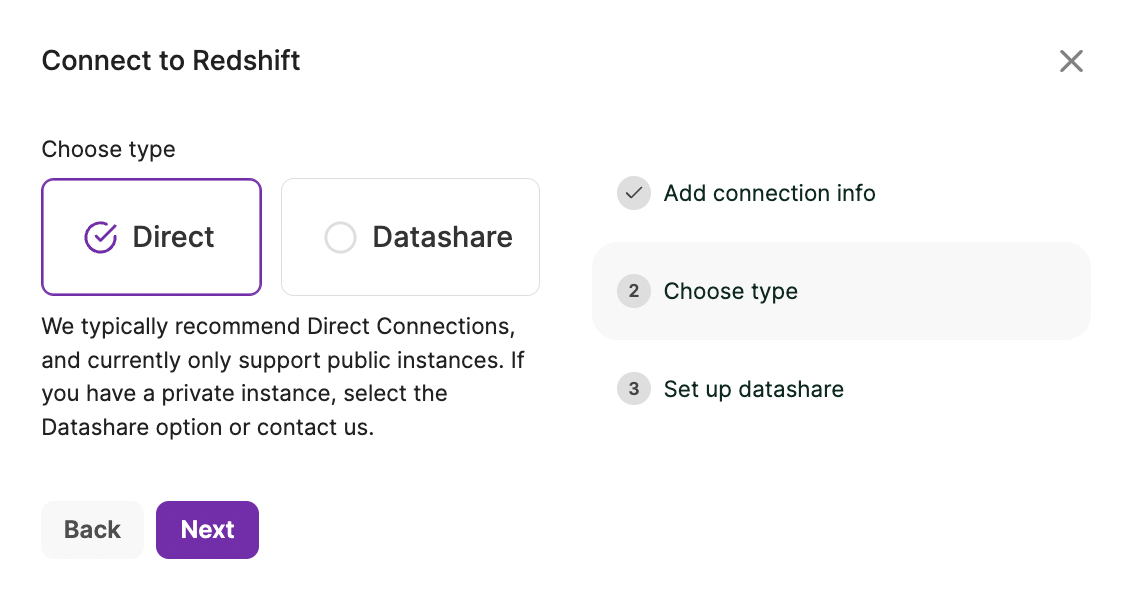
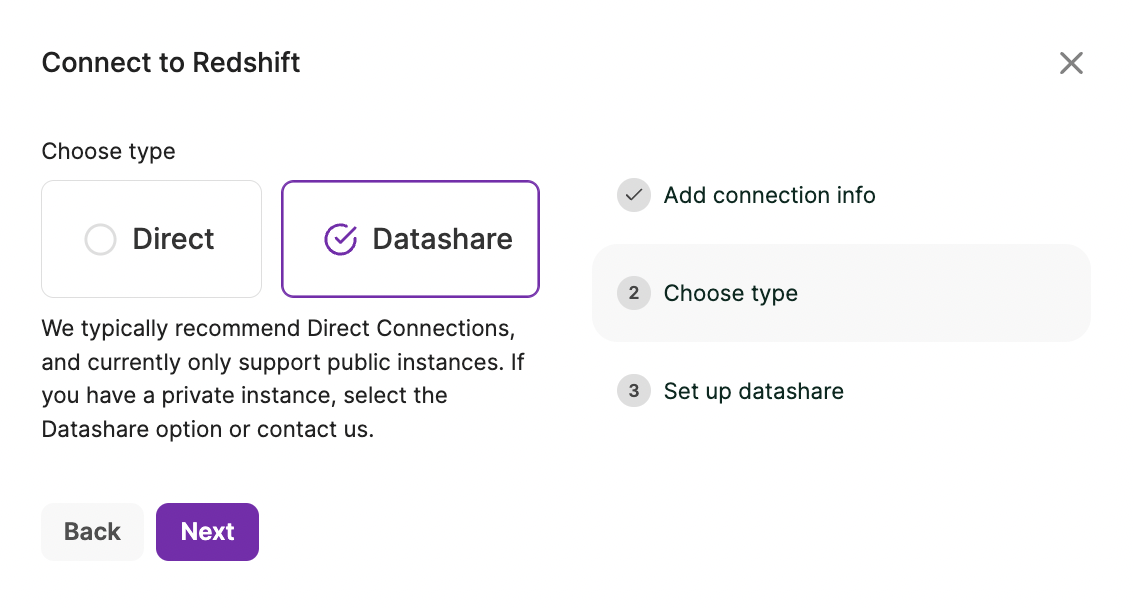
- Choose the type of connection you'd like to use. We recommend connecting Direct rather than using a Datashare if possible.
For more information on how to setup a datashare, see below.
Configuring Your Integration
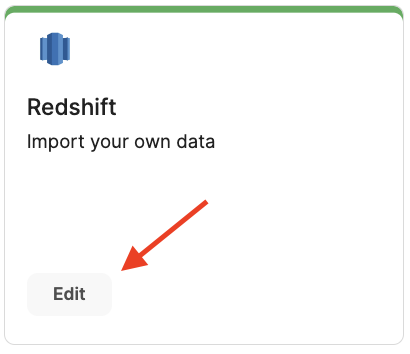
- Once Redshift is successfully connected (the integration card will be green), you can click "Edit" on the Redshift integration to link your data in Redshift to Correlated
- You'll see three tabs at the top of the page: Connected Tables, Connection, and Dimensions
- Connected Tables is where you can add in the specific tables you'd like to connect to Correlated. This step is required because you need to tell Correlated how to interpret your table schema. Note: you can always come back and add more tables in later on
- Connection will summarize what dataset is connected, the last date/time it was updated, and the available tables
- Dimensions allows you to view all of the Dimensions that Correlated has access to through this integration

Connecting Tables to Correlated
Now that you can see the available tables from your datashare, it's time to connect tables to Correlated.
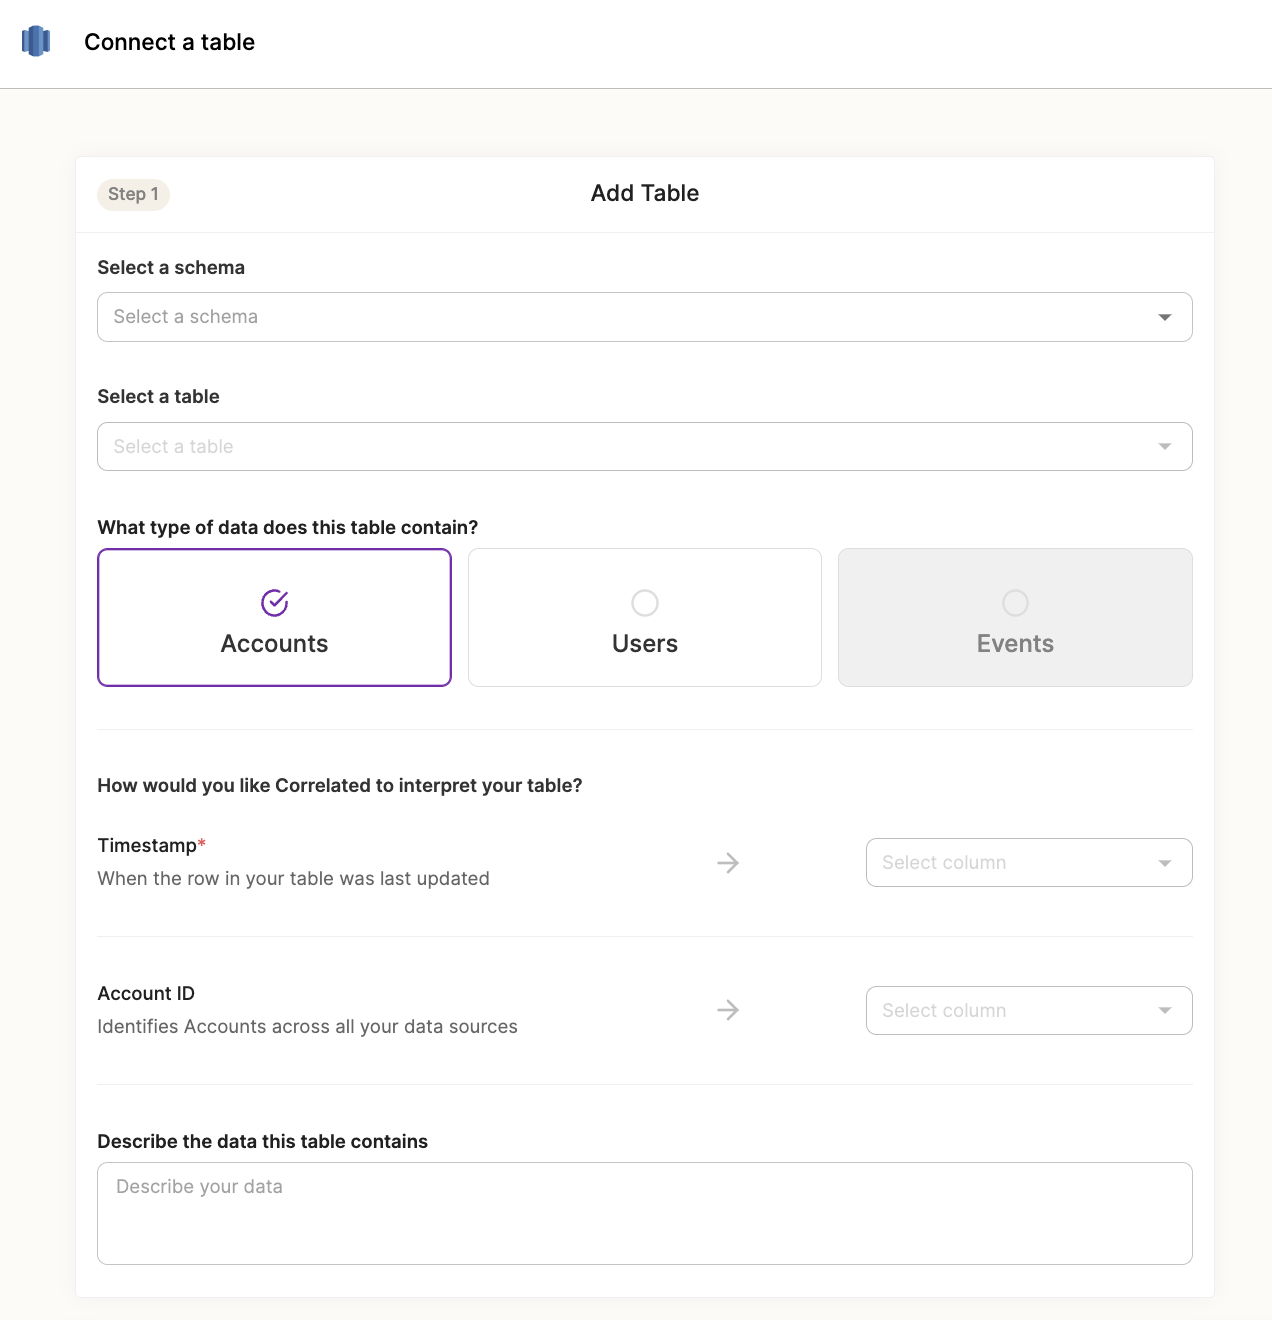
- Navigate to the "Connected Tables" tab
- Click "Connect Table"

- From here, select the Schema and Table you are trying to connect.
- Then select a table type (Accounts or Users).
- The timestamp column is needed for "versioned" data source. Versioned data sources are updated incrementally, whereas un-versioned data sources are only updated daily. Please note that this column MUST be when that row was written into Snowflake or populated in a view. This cannot be another timestamp from a downstream system.
- Finally, select the User ID that uniquely identifies a user and the Account ID that uniquely identifies an account as required. You must use the same Account ID and User ID as you do in other data sources so that you have one single, global identifier. Failing to do so will result in duplicate Accounts and Users.
- It's also recommended to add a short description of the table that you can refer to later on.
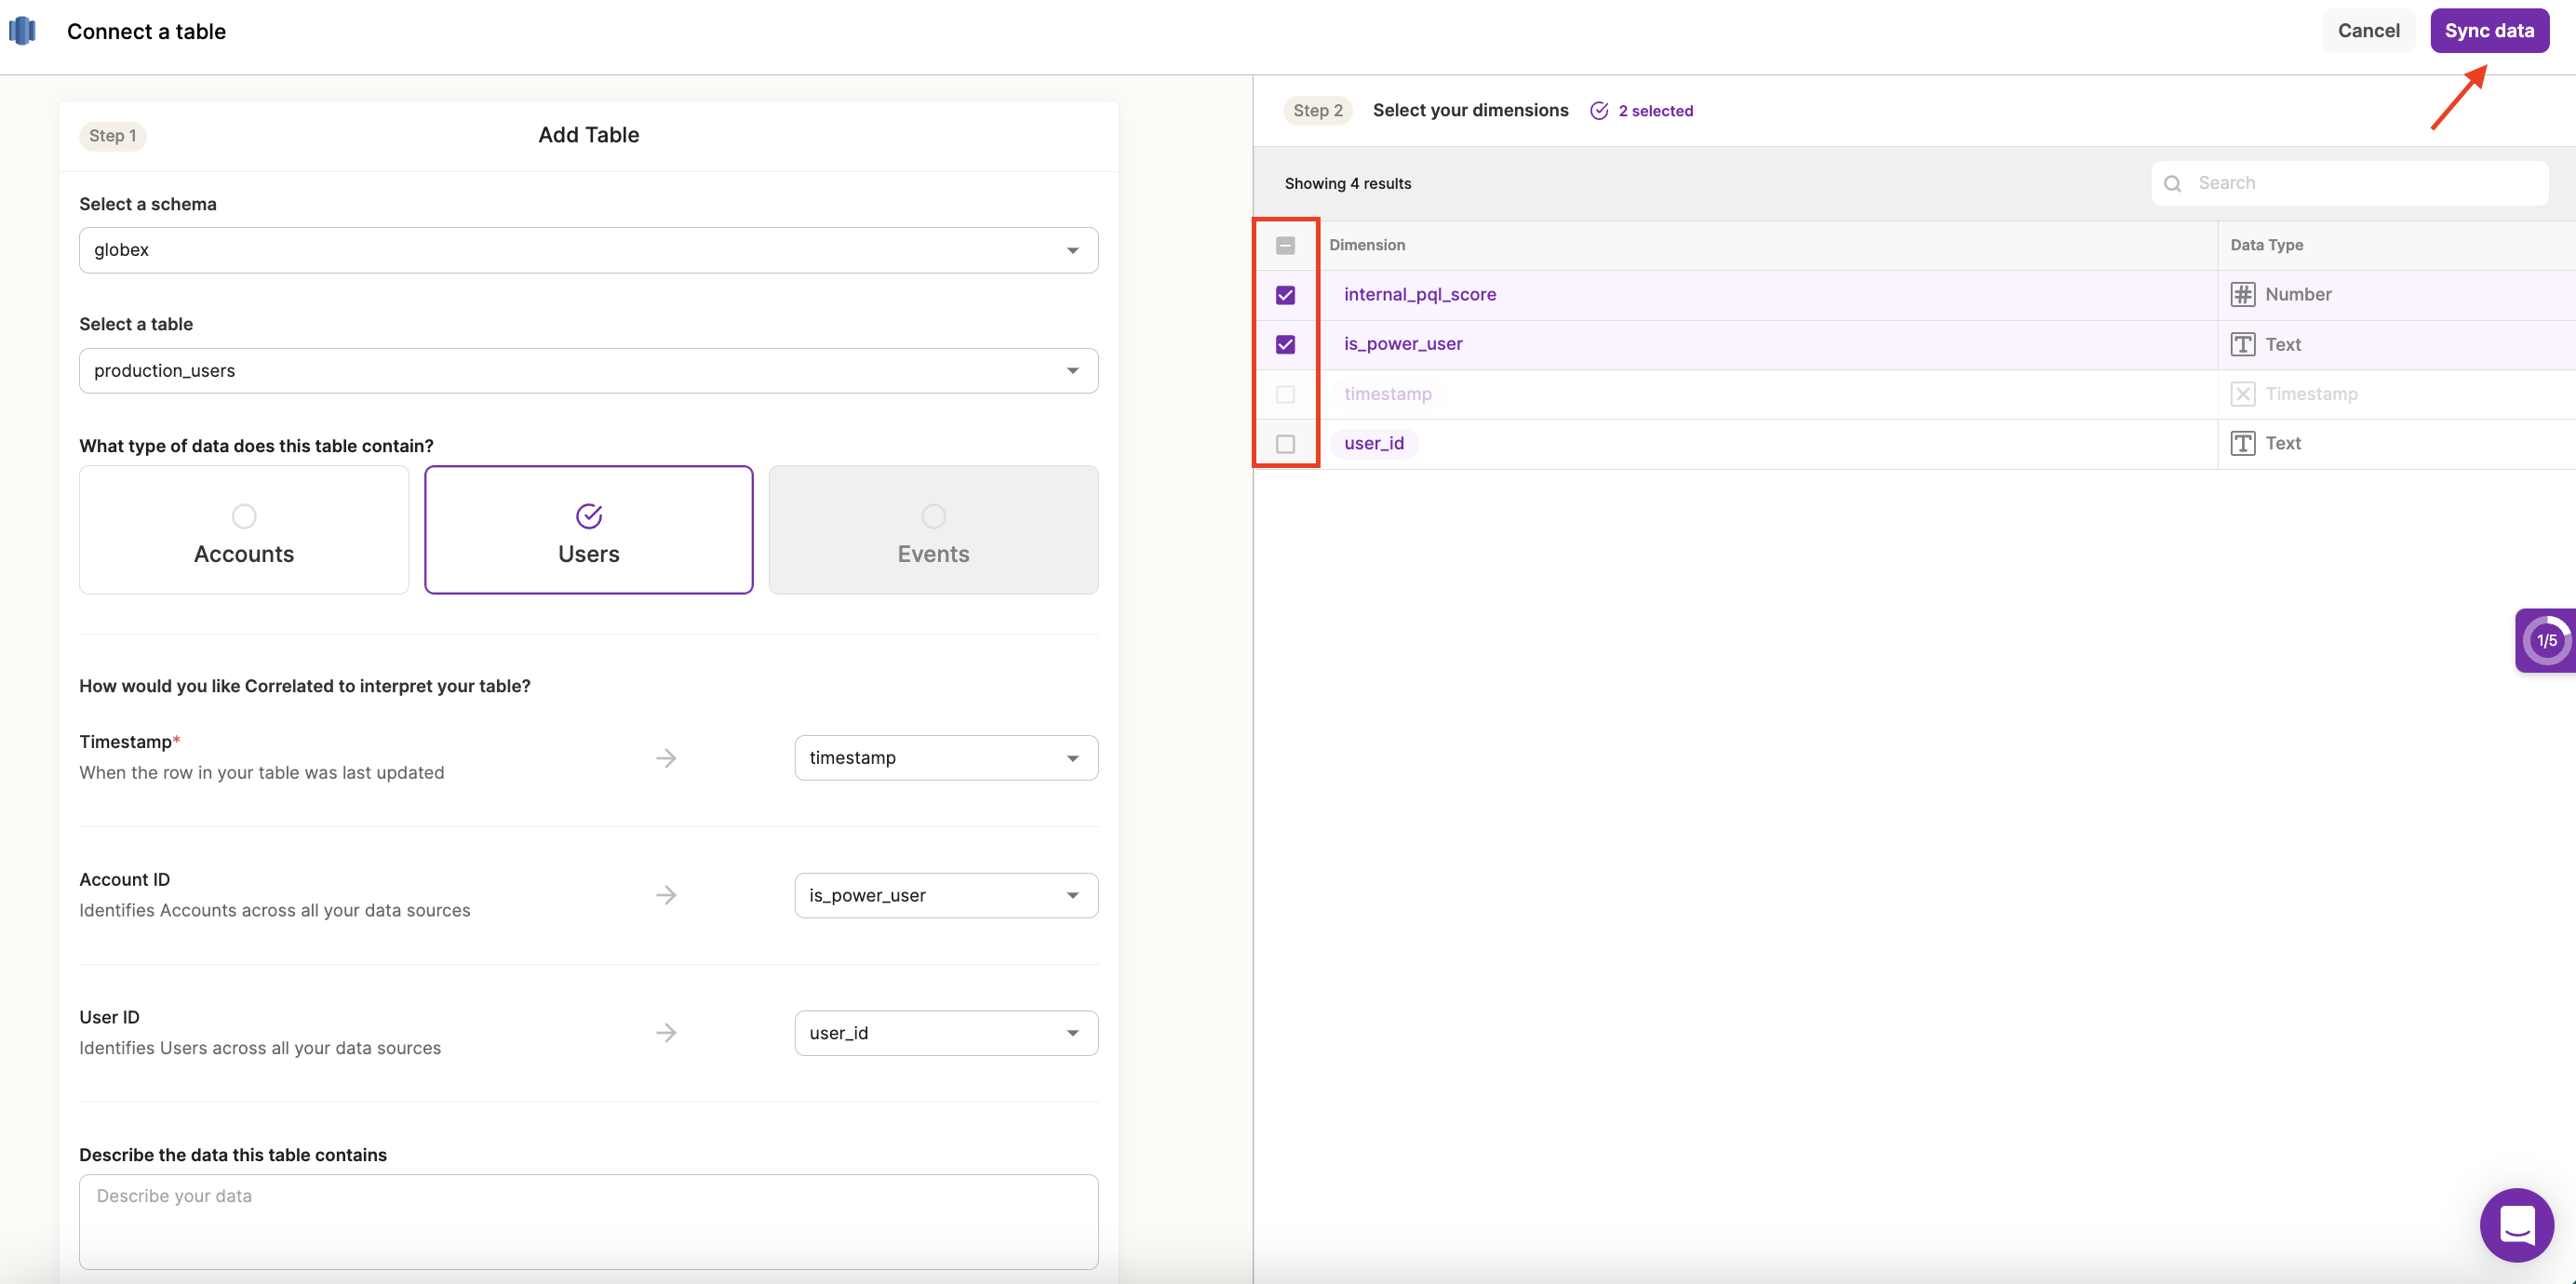
- As you configure each Table, you'll see Dimensions populate (aka columns available) on the right-hand side of the screen. Simply select the Dimensions you'll need to build Playbooks, and click "Sync Data" to import them.
Once you've added a column as a Dimension, it will no longer be available to add, but you can come back and import more at any time.
Adding New Dimensions from a Connected Table
-
If a table has previously been connected, but you need to add more Dimensions from it, just find it in the "Connected Tables" tab and click "Edit" on the desired table.
-
From here, select the new Dimensions you want to bring over and click "Sync data" when you're done.
(See step 8 from above)
You may observe some time lag between adding a dimension and it being available in Correlated
After you add a dimension, Correlated will query Redshift to populate your Accounts and Users. This usually takes several minutes, so if you don't immediately see values populating, that is the most likely reason. Values will populate over time as we finish querying your Redshift instance.
Setting up a Redshift Datashare
Correlated can also connect with Redshift's data sharing functionality to access your Redshift data. You'll want to identify which databases in Redshift you want to expose and associate datashares with those databases. Datashares are read-only and provide you with easy visibility into the data that you are sharing with Correlated.
Note that in order to use Redshift Datashares, you must be using Redshift's RA3 node types.
You can create a datashare using the following methods:
- SQL interface
- [AWS console] (https://docs.aws.amazon.com/redshift/latest/dg/getting-started-datashare-console.html)
Once your datashare is ready, repeat the steps from above to connect in Correlated, only this time choosing the "Datashare" option when prompted.
Your datashare needs to be approved by Correlated
Once you've connected Redshift, you'll notice that your Redshift setup modal is disabled and the connection is processing (the integration card will be yellow). This is because Correlated needs to accept your connection and confirm that the connection is valid. You'll typically see this updated within 24 hours of creating a connection. Please contact us if you are still seeing a processing status after 24 hours.
Updated over 3 years ago
